In this guide, you will learn how to create a shared mailbox in office 365 using the Exchange Admin Center and by using PowerShell.
Topics in this guide:
- What is a shared mailbox?
- How to create a shared mailbox in Exchange Admin Center
- How to create a shared mailbox using PowerShell
What is a Shared Mailbox?
A Shared Mailbox is a lot like a regular user mailbox in that it has a folder list and calendar. The main purpose of a Shared Mailbox is for email management. It can be great for a team or department that needs a simple central mailbox the whole team can use. A Shared Mailbox consists of people who have been delegated access to manage emails. You cannot delegate access to a Shared Mailbox to people outside of the organization. People inside and outside of your organization can send emails to a Shared Mailbox.
A Shared Mailbox does not need a license, however, the users that have been delegated access to the Shared Mailbox will need an Exchange license. Also, if the mailbox will be over 50 GB in size, then it will require a license to add more space. With an Exchange E3/E5 license, it will increase the size limit to 100 GB. Microsoft recommends no more than 25 users be delegated access to a Shared Mailbox. There is no limit to how many Shared Mailboxes you can create in your tenant.
When you create a Shared Mailbox, a corresponding user account is automatically created with an auto-generated password. Your users will not need the user id and password to sign into the Shared Mailbox. The account should be set to block sign-in for security purposes. If this mailbox is compromised, then the malicious actor has access to send emails both inside and outside of your organization.
An example of a scenario where a Shared Mailbox would be ideal: An Accounts Receivable department with several employees, and you need all invoices from external vendors to come to that mailbox and each employee needs to view those invoices. You can delegate access to the mailbox for each employee. Each employee would then be able to view and respond to the emails.
How to Create a Shared Mailbox in Exchange Admin Center
Step 1: Log into the Exchange Admin Center
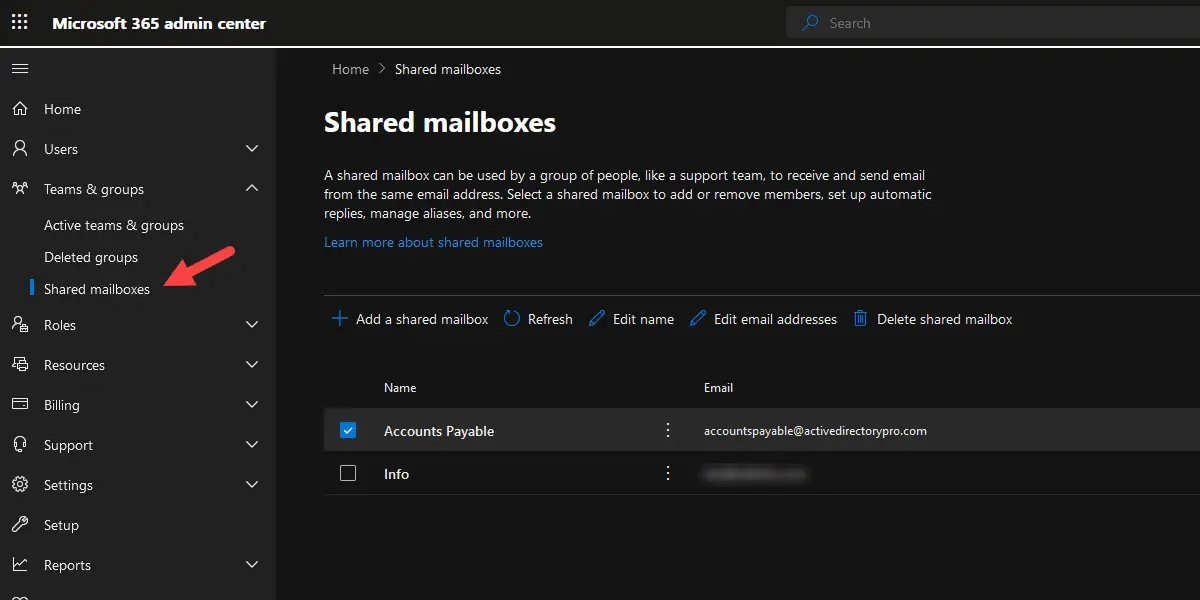
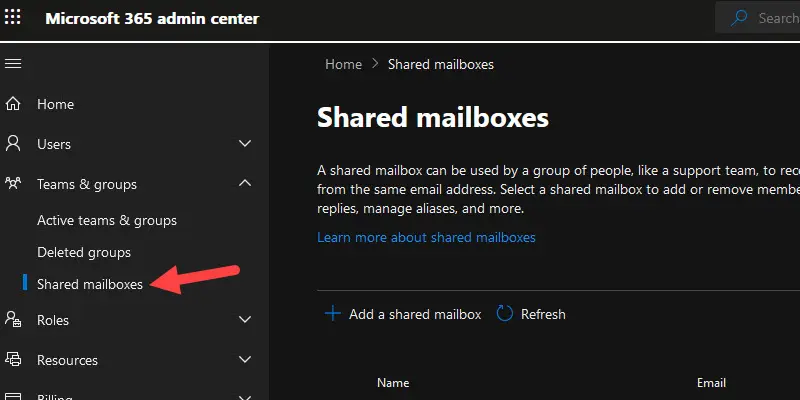
Log into https://admin.microsoft.com/Adminportal/Home?#/SharedMailbox and click on Teams & Groups, then select Shared Mailboxes.
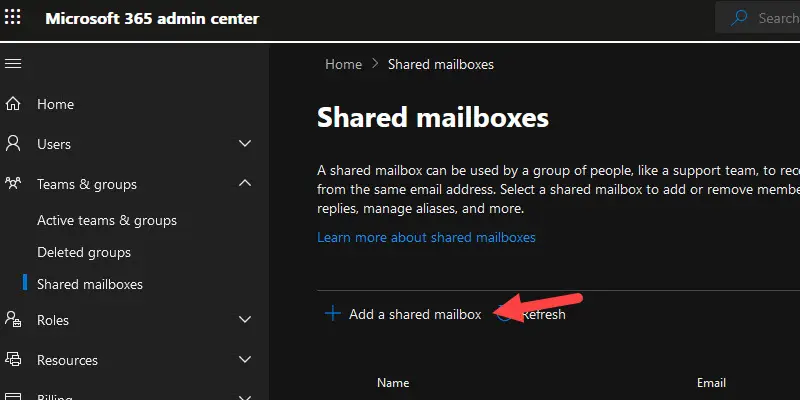
Step 2: Click Add A shared mailbox
Next, click on “Add a shared mailbox”
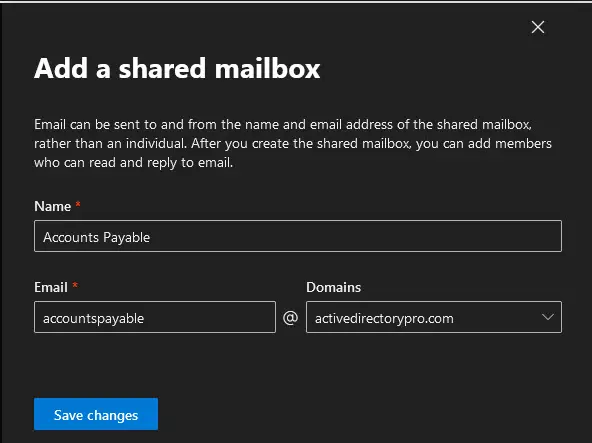
On the Add a shared mailbox pop-up, enter a Display Name. This should be unique and easily recognizable. The email address will populate automatically but you can change it. The email address should be easy to remember, especially if you are going to give it to external users to send emails to your organization.
I’m going to name this Shared Mailbox Accounts Payable. The email address automatically populated with accountspayable so I will leave it at that. Click Save changes at the bottom.
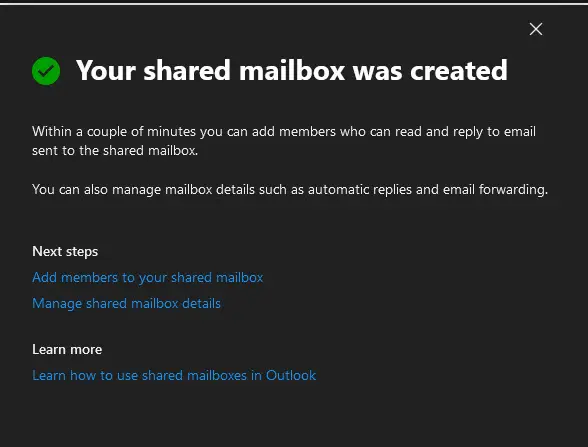
Once the Shared Mailbox is created, you will get a message that it was successful. You can then Add members (delegates) and manage the shared mailbox settings.
NOTE: It could take up to 15 minutes for the mailbox to be created. You may need to wait before adding members to the mailbox.
Step 3: Add members to the shared mailbox
Shared mailbox members are the users you want to have access to the shared mailbox.
Click on the shared mailbox then click edit under members.
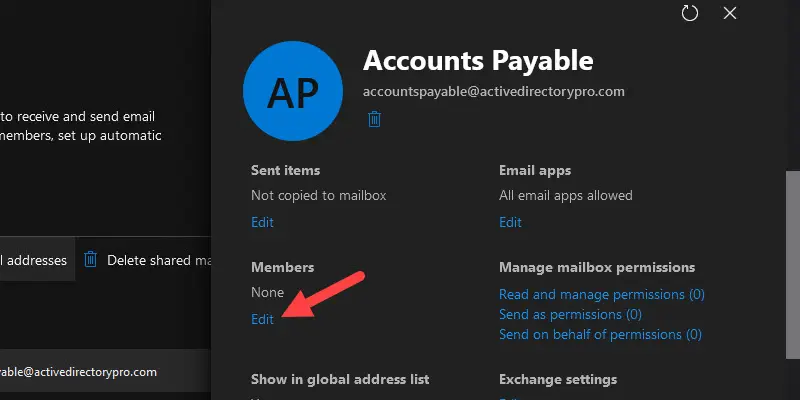
Click on “Add members”
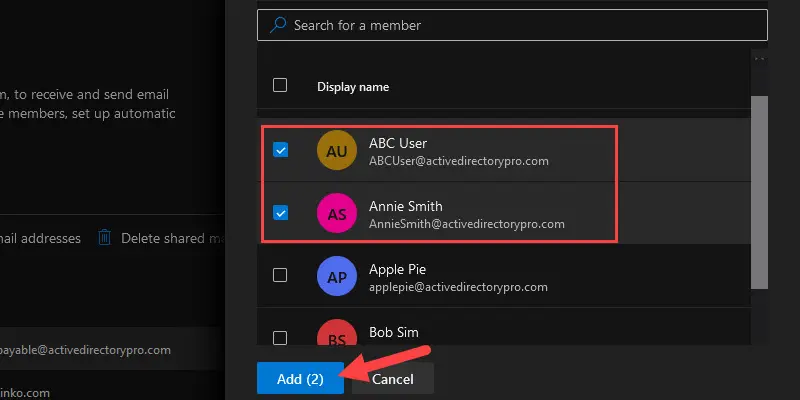
Next, you can search for a member or scroll through the list and select the users to add. When you have the users selected click the Add button.
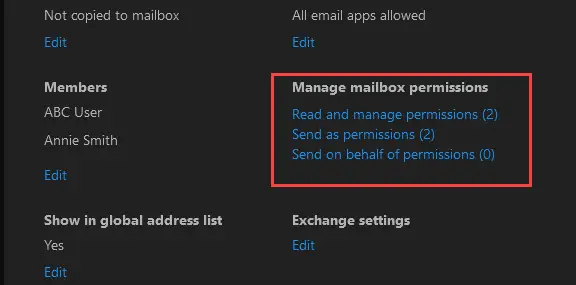
By default, each member is given read and manage permissions as well as Send as permissions.
I added two members, so now to the right of Read and manage permissions, I see 2 members. The same for Send as permissions.
Step 4: How to access a shared mailbox
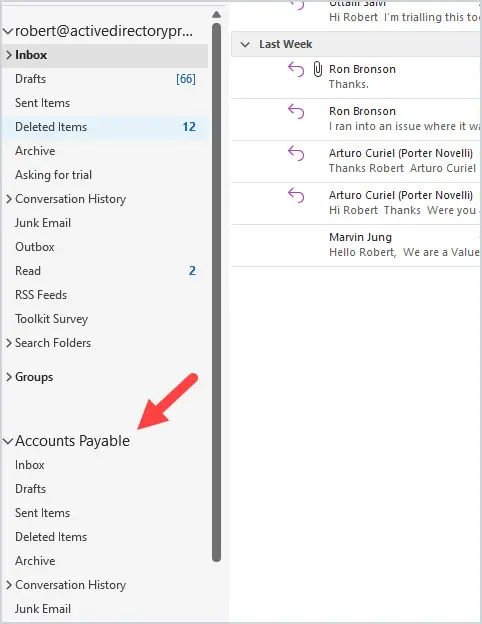
If you are using the outlook desktop client the shared mailbox should automatically display in the folder pane. You may need to wait several minutes after creating the shared mailbox before it will show up.
Open a shared mailbox in outlook on the web.
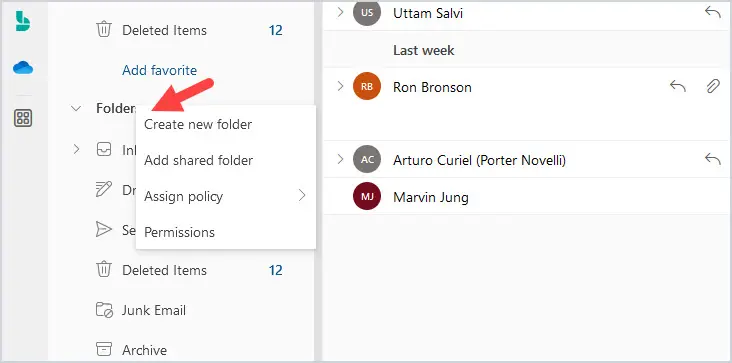
1. Right click on Folders and select “Add shared folder”
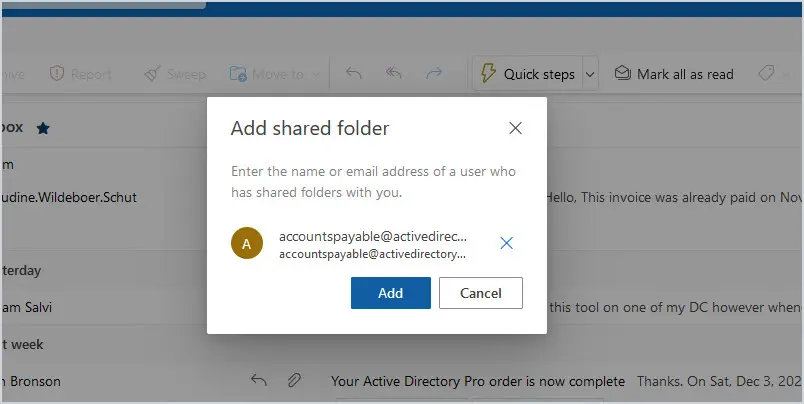
2. Enter the name or email address of the shared mailbox and click add.
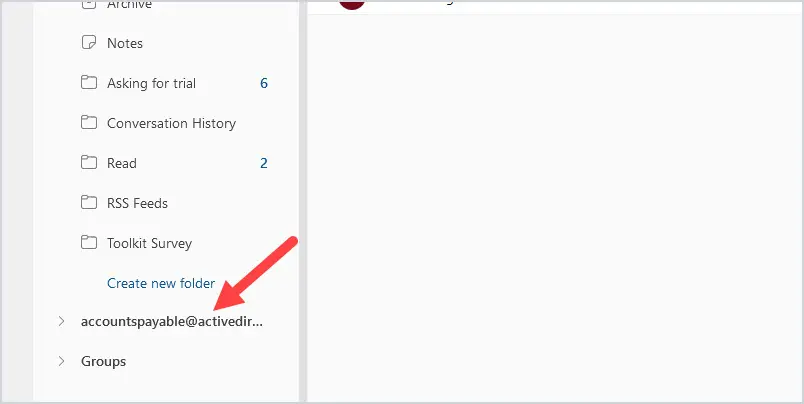
The shared mailbox should now appear in the left navigation pane.
Block Shared Mailbox Sign-in
When you create a Shared Mailbox, a corresponding user account is automatically created with an auto-generated password. The account should be set to block sign-in for security purposes.
These steps are optional but are recommended to increase office 365 security.
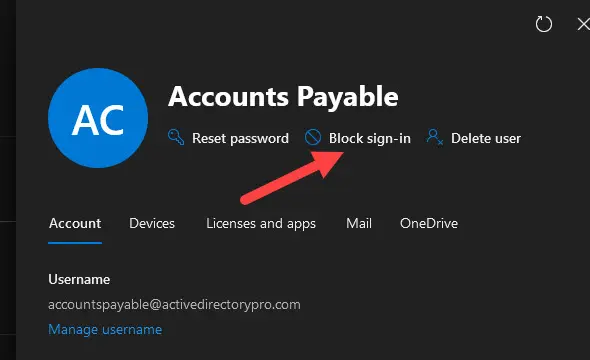
Login into https://admin.microsoft.com/Adminportal/Home?#/users and locate the user associated with the Shared Mailbox you just created.
In my example, the name of the Shared Mailbox is Accounts Payable.
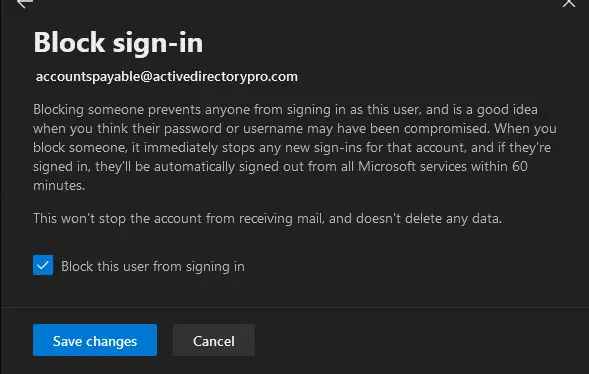
Click in the box to the left of Block this user from signing in and click Save Changes at the bottom.
Select the box “Block this user from signing in” and click “Save Change”.
You will get pop up that says the account is now blocked from signing in.
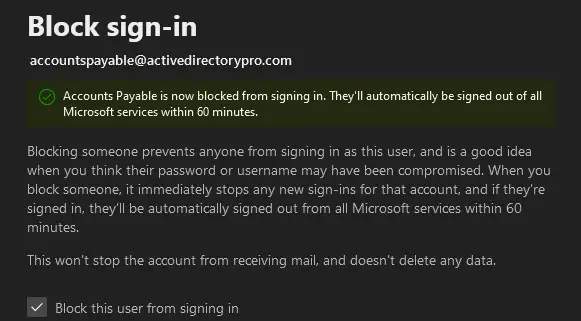
The account should now say Sign-in blocked at the top.
How to create a shared mailbox with PowerShell
Step 1: Connect to exchange online.
Refer to the article connect exchange online powershell for step-by-step instructions.
Step 2: Run the cmdlet New-Mailbox
To create the Shared Mailbox, we are going to use the cmdlet New-Mailbox.
New-Mailbox -Shared -Name “Accounting Dept” -DisplayName “Accounting Department”This example creates the Shared Mailbox called Accounting Department with a primary email address of accountingdept@activedirectorypro.com (uses the Name field to populate the email address).

Step 3: Modify Shared Mailbox permissions
To give a user full access to the mailbox, use the cmdlet Add-MailboxPermission.
Add-MailboxPermission -Identity "Marketing" -User "123 User" -AccessRights FullAccess -InheritanceType AllIn this example, we give “123 User” full access to the Shared Mailbox “Marketing Dept” (using the alias name).

To give a user Send as Permissions, we use the cmdlet Add-RecipientPermission
Add-RecipientPermission "Marketing" -AccessRights SendAs -Trustee "ABC User" -Confirm:$falseIn this example, we give the user “ABC User” Send as permissions to the Shared Mailbox Marketing Dept (using the alias Marketing).

To give Send on behalf permissions, we use the cmdlet Set-Mailbox
NOTE: This will replace all existing users delegated Send on Behalf permissions
Set-Mailbox -Identity “Marketing” -GrantSendOnBehalfTo “Annie Smith”In the above example, we give the user “Annie Smith” Send on behalf permissions to the Shared Mailbox “Marketing Dept” (using the alias Marketing).
To add a user to the existing list of send on behalf permissions use this command.
Set-Mailbox -Identity "Marketing" -GrantSendonBehalfTo @{Add="123 User"}In the above example, we add user “123 User” to the existing list of Send on Behalf permissions to the Shared Mailbox “Marketing”
Summary
A shared mailbox is useful when you need multiple people to manage emails such as reading and responding to customer requests.
In this guide, I showed you how to create a shared mailbox using the Exchange Admin center and by using PowerShell. I also showed you how to modify the shared mailbox permissions with PowerShell. I hope you enjoyed this article, if you have questions or comments please post below.