In this guide, I will walk you through step by step how to whitelist a domain in Office 365
Before you whitelist any domain, including your own, you must carefully consider the security risks of bypassing spam filtering. Sometimes, no matter what troubleshooting you do, important emails still get quarantined. There are several different ways you can whitelist a domain in Office 365. I will go into detail on each and explain the security risks associated.
Anti-Spam Policy (least recommended)
- Whitelist a Domain in Office 365 with the Anti-Spam Policy
- Whitelist a Domain with the Anti-Spam Policy using PowerShell
- Whitelist a Domain by IP Address
- Whitelist a Domain by IP Address using PowerShell
Transport Rule (safest and recommended)
Whitelist a Domain In Office 365 with the Anti-Spam Policy
Let’s start with two options that are the least recommended. Exchange Online has a default anti-spam policy enabled. The name of the policy is Default. These are not recommended because they leave your organization vulnerable to spoofed emails from that domain or sender.
- Open the Security Portal
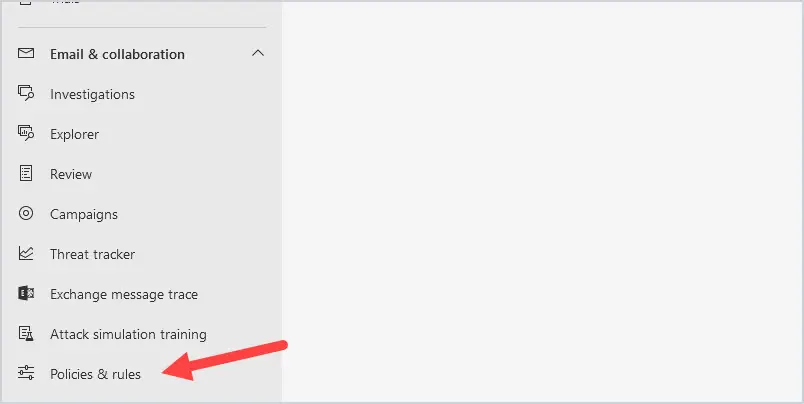
Log in to the security portal by going to https://security.microsoft.com. Select Policies & rules on the left-hand navigation menu.
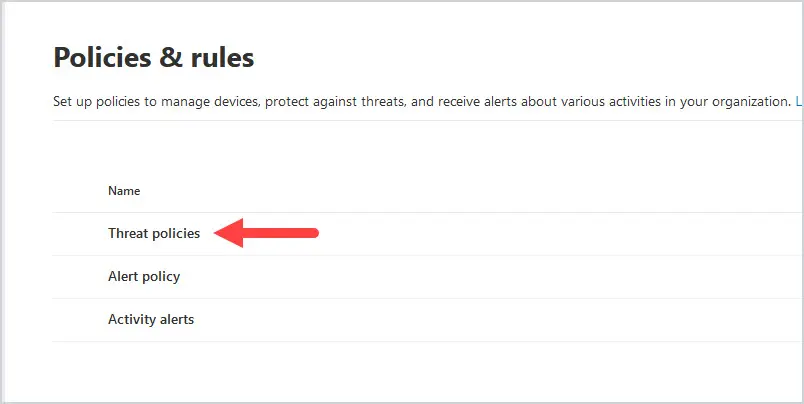
- Click on Threat Policies
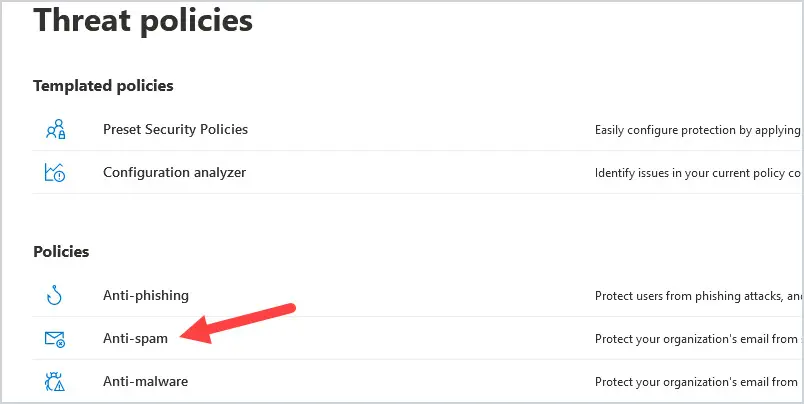
Next, click on threat policies. - Click on Anti-Spam Policy
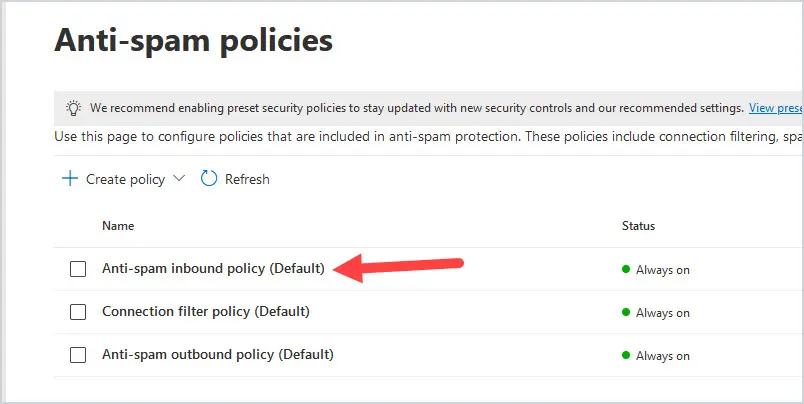
Note: You can directly access the anti-spam policy at this URL https://security.microsoft.com/antispam - Click on the Anti-spam inbound policy (Default).
Click on the inbound policy from the list of policies.
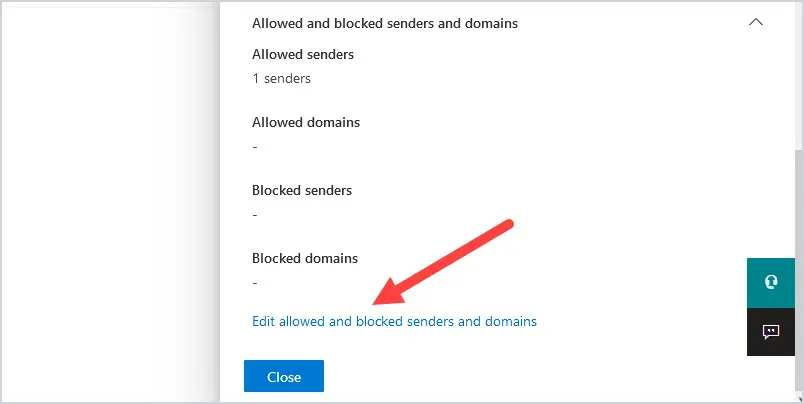
The policy will open on the right-hand-side of the page. Use the scroll bar and scroll down all the way down to the bottom. You will see Edit allowed and blocked senders and domains. Click on it. - Click on Allow domains
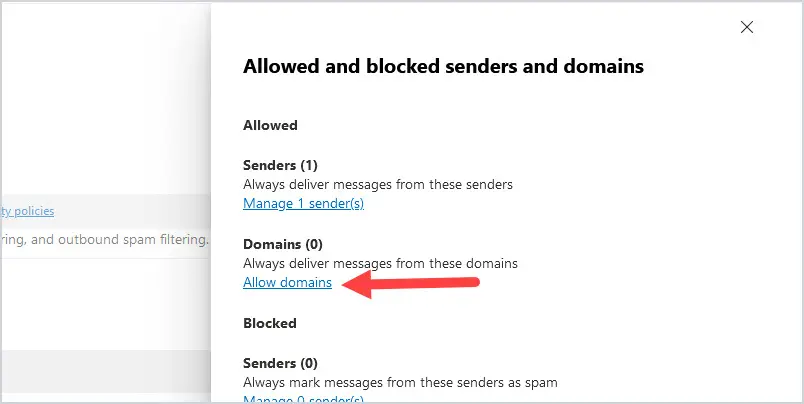
You will now see the following screen. To add a domain, click on Domains under the Allowed section.
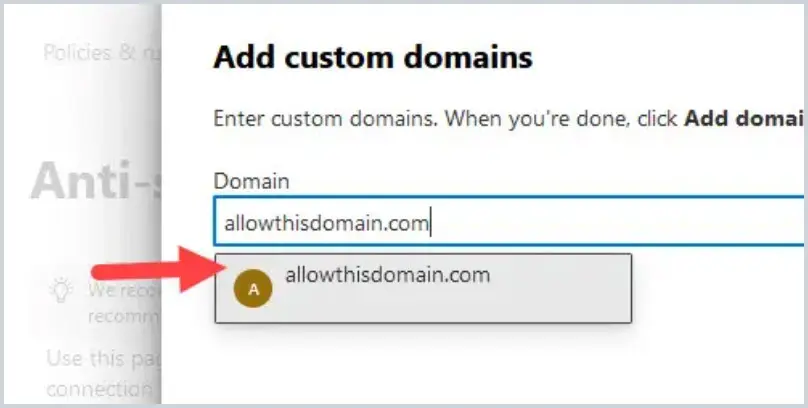
To add a domain, click on Add domains.
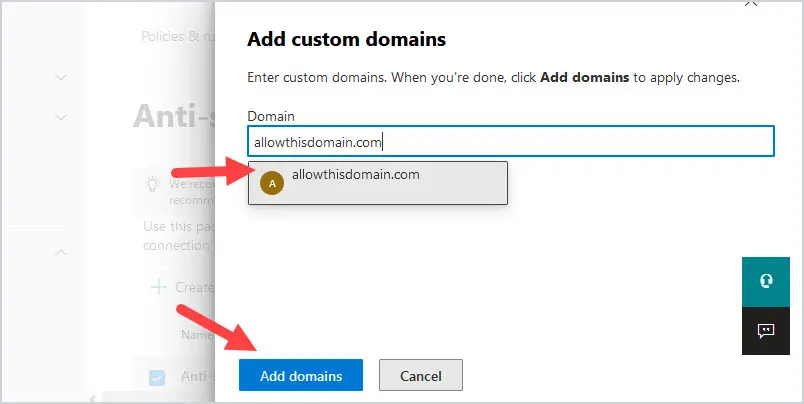
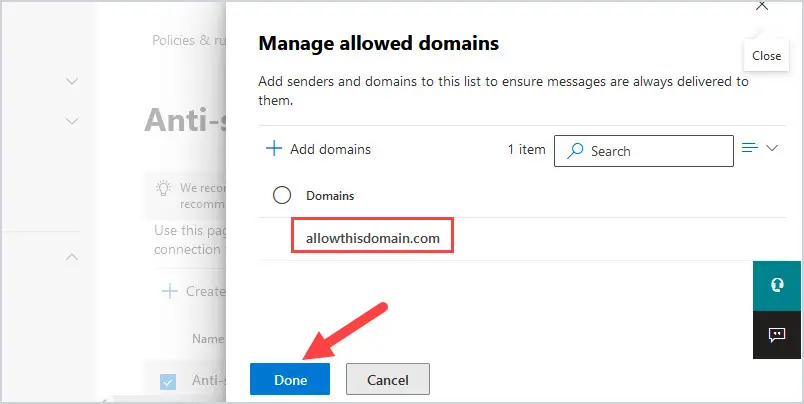
Type in the fully qualified name of the domain, then click on the domain that you typed below, and click on Add Domains at the bottom of the screen.
You will now see the domain in the list of Manage allowed domains. Click on Done.
Refer to the Microsoft article Configure anti-spam policies in EOP to learn more about exchange online spam policies.

Whitelist a Domain with the Anti-Spam Policy using PowerShell
1. Connect to Exchange Online with PowerShell
See the article connect to exchange online with PowerShell if you need step-by-step instructions.
2. We will use the cmdlet Get-HostedContentFilterPolicy to list the spam policies.
This example shows the anti-spam policy that comes enabled by default. The name of the anti-spam policy is Default.
Get-HostedContentFilterPolicy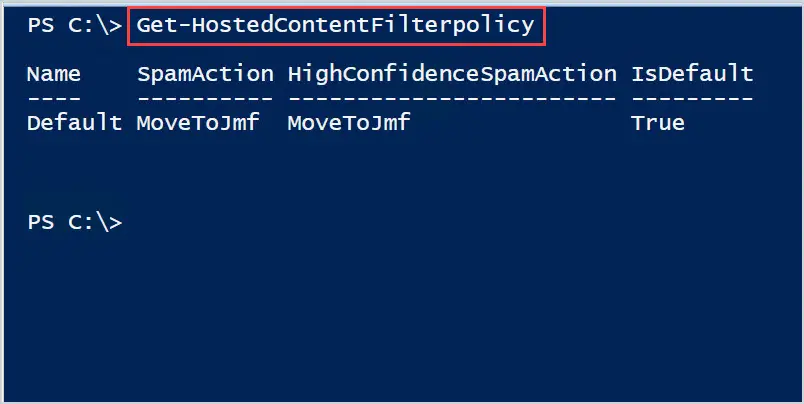
3. To modify this policy, we will use the cmdlet Set-HostedContentFilterPolicy. The example below adds the domain trustthisdomain.com to the Allowed domains list to the Default anti-spam policy.
Set-HostedContentFilterPolicy -Identity 'Default' -AllowedSenderDomains 'trustthisdomain.com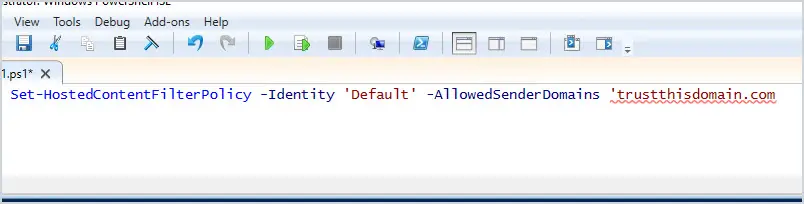
To verify it worked, we will use the cmdlet Get-HostedContentFilterPolicy. The example below lists the allowed domains for the anti-spam policy named Default.
Get-HostedContentFilterPolicy -Identity 'Default' | Format-List AllowedSenderDomains
Whitelist a Domain Using an IP Address
Note: Adding an IP address to the connection filter policy is not a recommended way because any email sent from that IP address, no matter the domain name, bypasses spam filtering. Also, you run the risk of the IP address of the source server changing which would leave this list out of date.
1. Log in to https://security.microsoft.com.
2. Go to Policies & Rules. Then Threat Policies
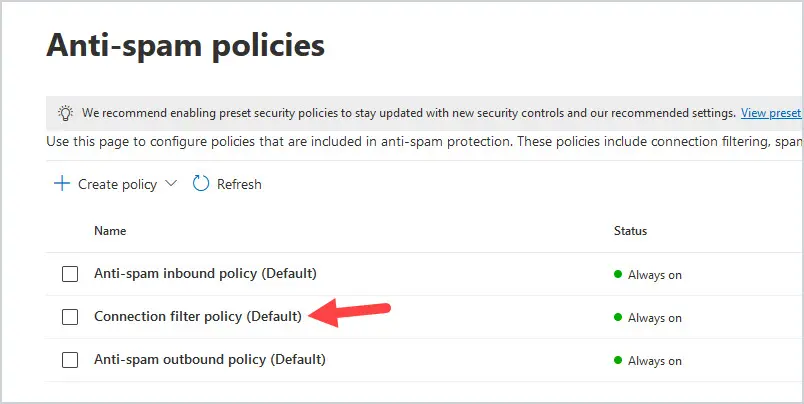
3. Go to Anti-spam policies.
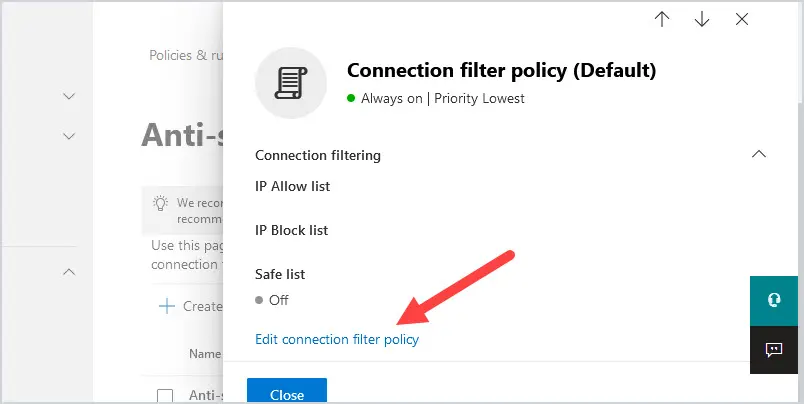
4. Click on the connection filter policy (default)
5. Click on edit connection filter
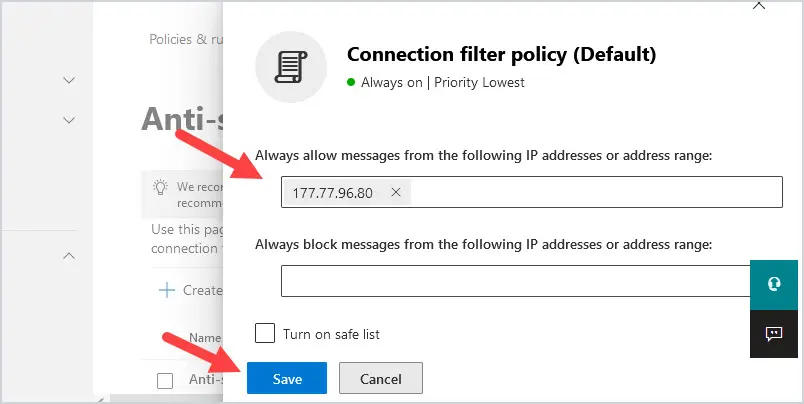
6. Type in the public IP address of the domain you wish to whitelist where it says Always allow messages from the following IP address or address range. Click Save at the bottom.
Whitelist a Domain by IP Address using PowerShell
1. Connect to Exchange Online with PowerShell
See the article connect to exchange online with PowerShell if you need step-by-step instructions.
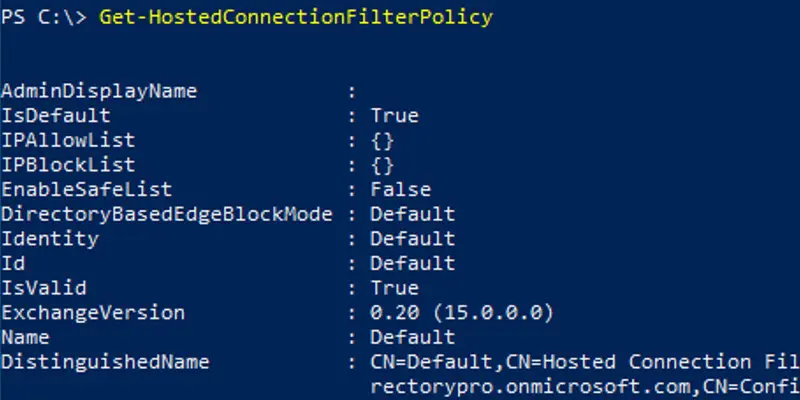
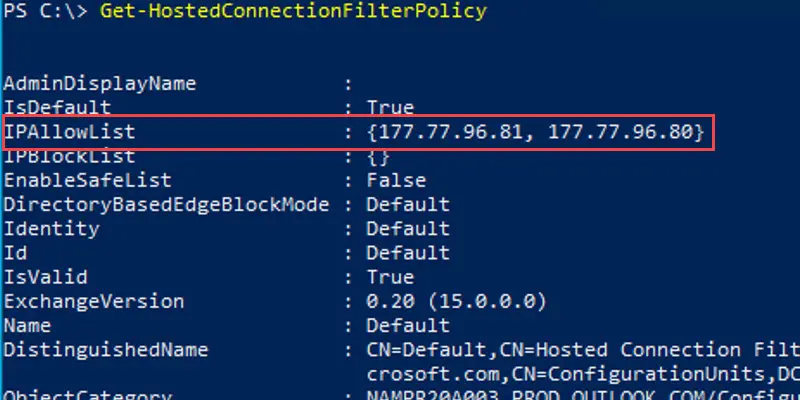
2. We will use the cmdlet Get-HostedConnectionFilterPolicy to list the Connection Filter policies.
This example shows the Connection Filter policy that comes enabled by default. The name of the Connection Filter policy is Default.
3. To modify this policy, we will use the cmdlet Set-HostedConnectionFilterPolicy. The example below adds the IP address 177.77.96.80 to the Default Connection Filter policy.
Set-HostedConnectionFilterPolicy "Default" -IPAllowList 177.77.96.80Note: This will overwrite any IP addresses you already have in the policy
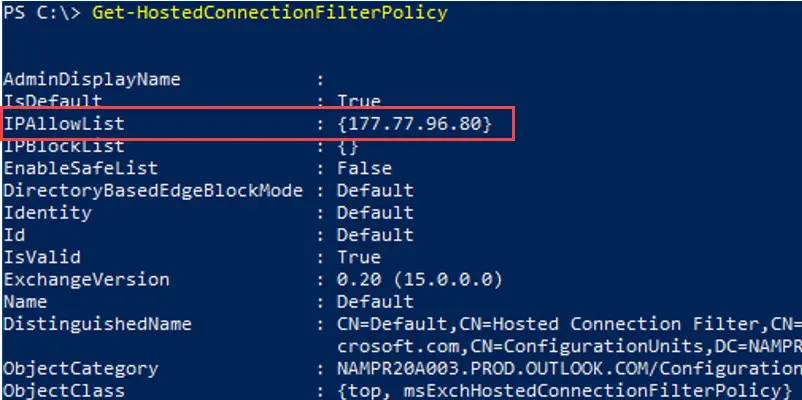
4. To verify it worked, we will use the cmdlet Get-HostedConnectionFilterPolicy. The example below lists the allowed IP address for the Connection Filter policy named Default. You can see the Allowed IP addresses in the IPAllowList field.
5. To add to the exiting list of Allowed IP Address, we use the Set-HostedConnectionFilterPolicy cmdlet. The example below adds additional IP addresses to the Allow IP List Connection Filter Policy called Default.
Set-HostedConnectionFilterPolicy "Default" -IPAllowList @{Add="177.77.96.81"}6. To verify it worked, we use the Get-HostedConnectionFilterPolicy cmdlet. The example below lists the Allowed IP addresses for Connection Filter Policy called Default. You can see the IP address was added to the IPAllowList.
Whitelist a Domain using a Transport Rule
Creating a transport rule to whitelist a domain is the safest and recommended way to bypass spam filtering. I even included it in my list of Microsoft 365 Security best practices. By creating a transport rule, you can add in some extra security checks to be 100% certain that the email is legitimately from that domain. I will explain some of those extra security steps below.
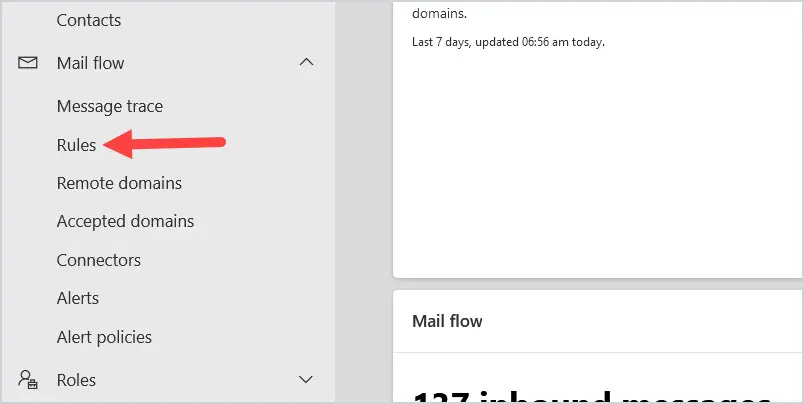
1. Log into the Exchange portal by going to https://admin.exchange.microsoft.com. Click on Mail Flow and then Rules.
2. Click on Add a Rule
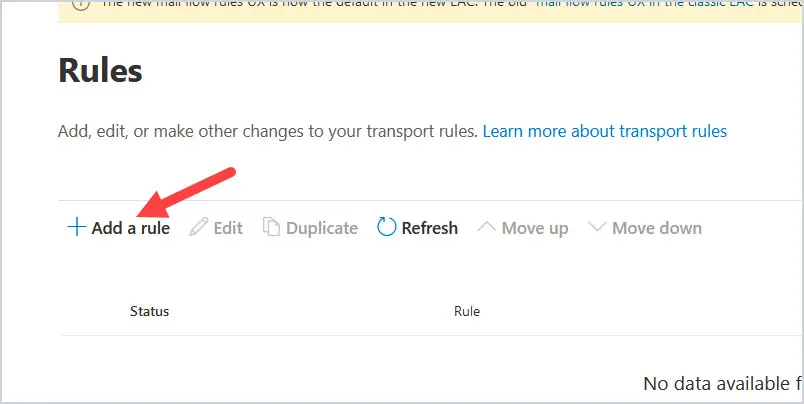
Then click on Create a new rule
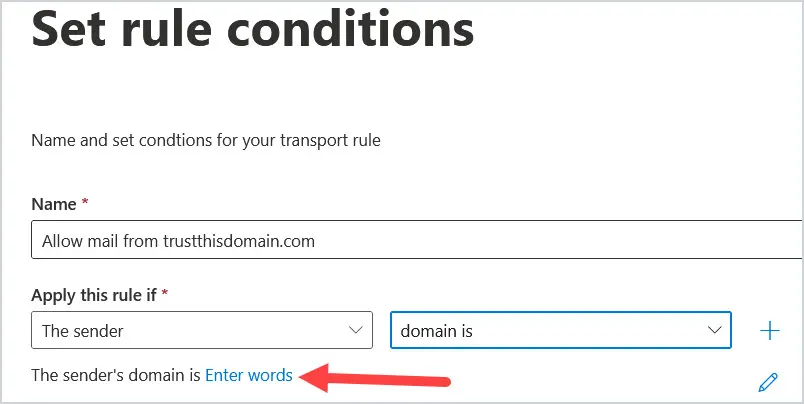
3. Type in a name for the rule so that you can easily identify it. Where is says Apply this rule if*, select The Sender. Then select domain is from the drop down to the right.
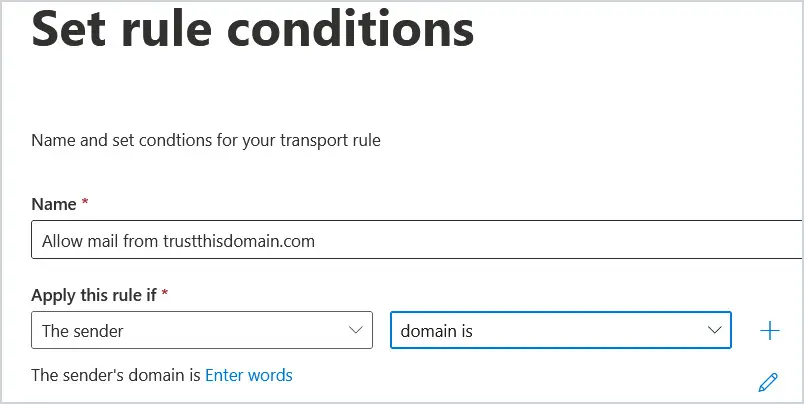
Click on “Enter words”
4. When you click on Enter words, another window will pop up to specify the domain. Enter the fully qualified domain name. I entered trustthisdomain.com and then click Add.
After you click add, the domain will show in the list. Then click Save at the bottom of the screen.
5. Move down to Do the following* and select Modify the message properties. Then select set the spam confident level (SCL).
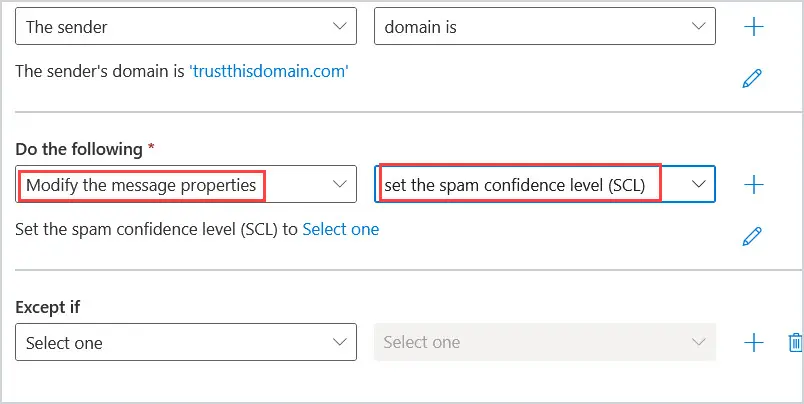
A window will pop up after you choose set the spam confidence level (SCL), choose Bypass Spam filtering. Then click Save at the bottom of the screen.
After you Bypass spam filtering, it will display below that with a spam confidence level (SCL) to ‘-1’.
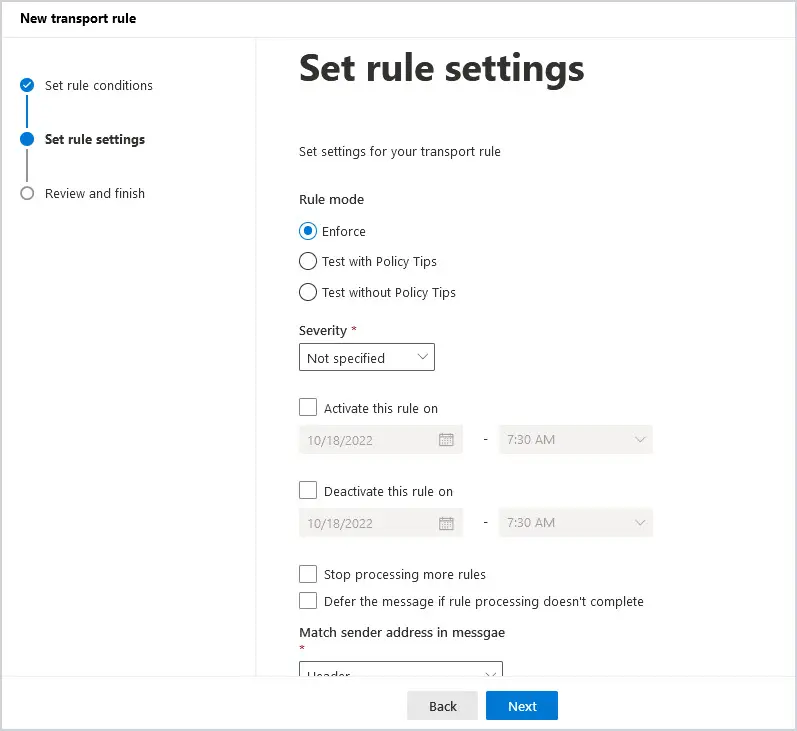
6. After you select the conditions you would like to add, click on Next at the bottom of the screen to set rule settings.
You want to Enforce. You have the option to activate the rule on a specific date and time or deactivate the rule on a specific date and time. Also, think carefully before selecting Stop processing more rules based on where you place the transport rule in your transport rules list. When you select Stop processing more rules, it will stop at this rule and not proceed to the next rule.
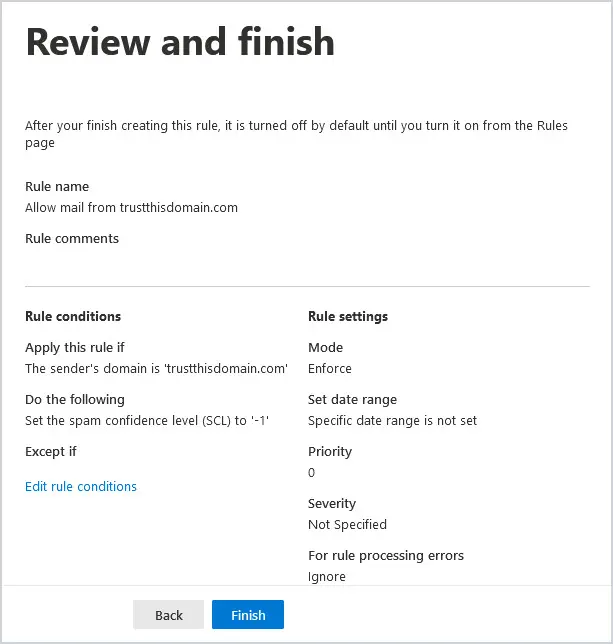
You will now have a chance to Review and finish. Click Finish at the bottom of the screen to complete the rule.
Add Additional Transport Rule Conditions
One of the ways we can make this more secure is to add another condition. Let’s say we know the public IP address of the domain we are whitelisting. This will add that extra security I was talking about in making sure that it is truly the domain you whitelisted.
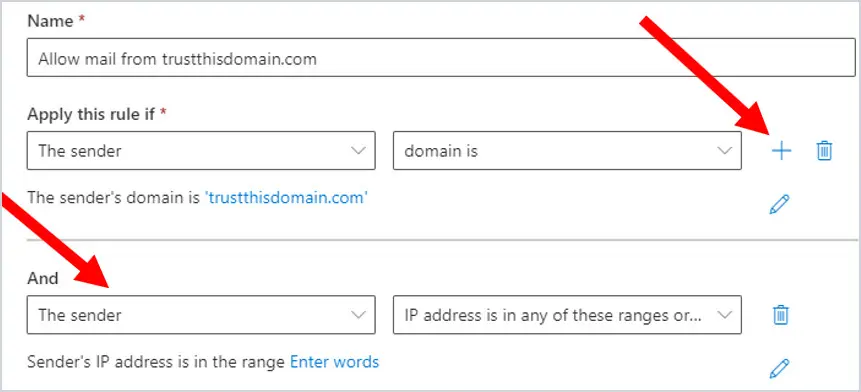
1. Click the + sign to the right of Apply this rule if* to add another condition. There will now be an And. Select The Sender and then select IP Address is any of these ranges or exactly matches.
2. Enter the public IP address of the domain you are whitelisting and then click Add.
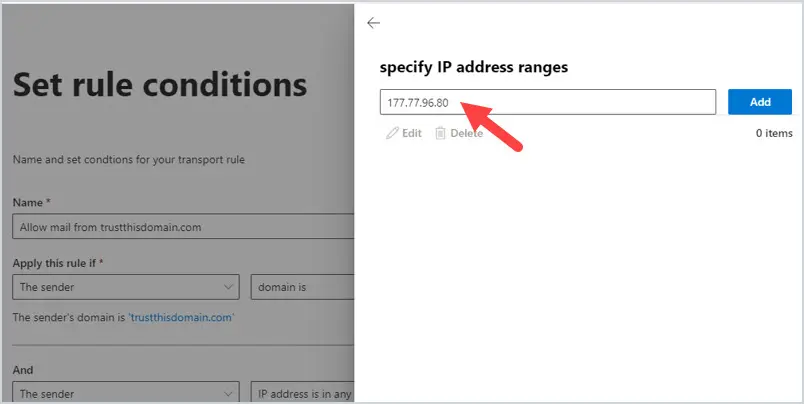
The IP address will now show up in the list. Click Save at the bottom of the screen.
The rule will now look like this. So not only have we whitelisted the domain, but we added the extra security of making sure it is coming from that domain by adding the domain’s public IP address.
Add SPF, DMARC and DKIM Condition Rules
There are a few other conditions you can add to verify sender. You can check to see if SPF, DMARC, and DKIM pass. Below is an example of message header Authentication-Results.
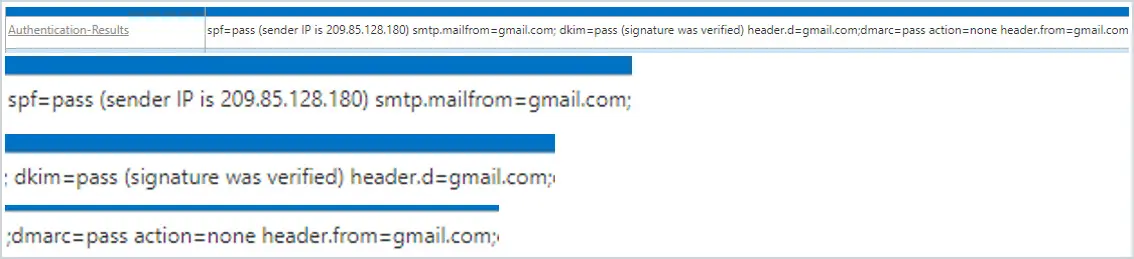
If you wanted to add a transport rule based on values in the Authentication-Results message header, you can add the condition based on message headers.
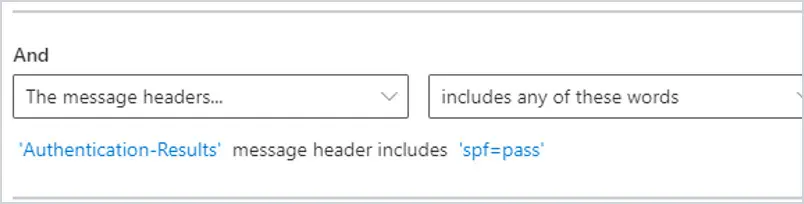
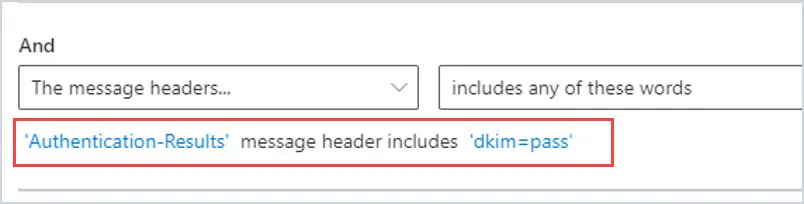
1. Select The message headers and then includes any of these words.
2. To add a transport rule to see if SPF passes, where it says Enter text, you will enter Authentication-Results. Then enter spf=pass where it says Enter words. The transport rule will look like this.
3. To add a transport rule to see if DKIM passes, the transport rule would look like this.
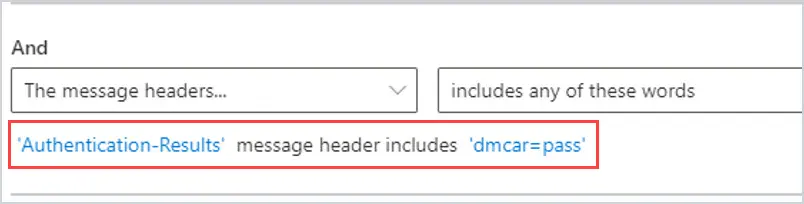
4. To add a transport rule to see if DMARC passes, the transport rule would look like this.
I hope you enjoyed this article. If you have any questions post them in the comments below.
This guide is more than a month old so is woefully outdated (because M$ constantly insists on moving stuff around!!!!).
Ha. Sad but true.