In this guide, you will learn how to enable Remote Desktop on Windows 10, 11, and Windows Server. I’ll also show you on to enable RDP using PowerShell and group policy.
Tip: Use a remote desktop connection manager to manage multiple remote desktop connections. You can organize your desktops and servers into groups for easy access.
Table of contents
- Enable Remote Desktop on Windows 10
- Enable Remote Desktop on Windows 11
- Enable Remote Desktop on Windows Server
- PowerShell Enable Remote Desktop
- Group Policy Configuration to allow RDP
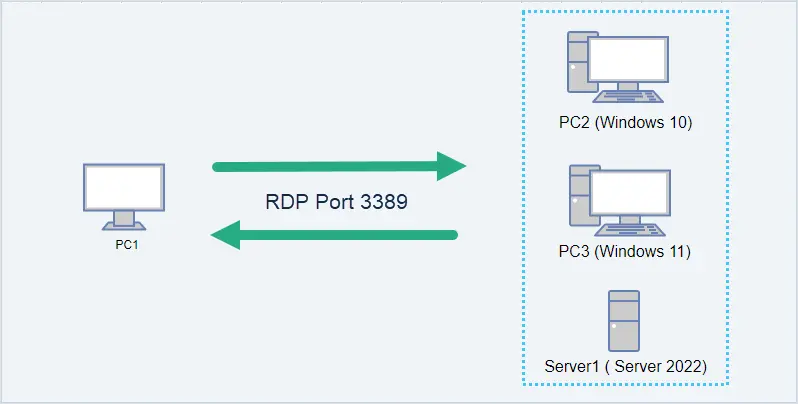
In the diagram below, my admin workstation is PC1. I’m going to enable RDP on PC2, PC3, and Server1 so that I can remotely connect to them. RDP uses port TCP 3389. You can change the RDP listening port by modifying the registry.
Enable Remote Desktop on Windows 10
In this example, I’m going to enable remote desktop on PC2 that is running windows 10.
Step 1. Enable Remote Desktop
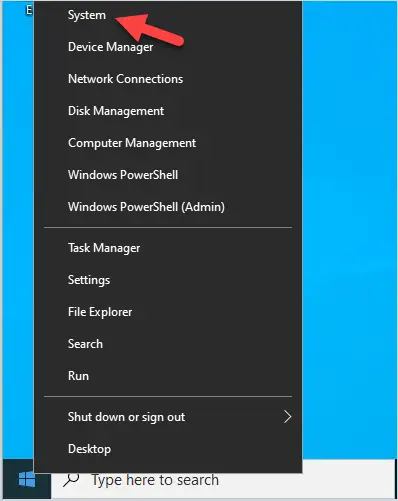
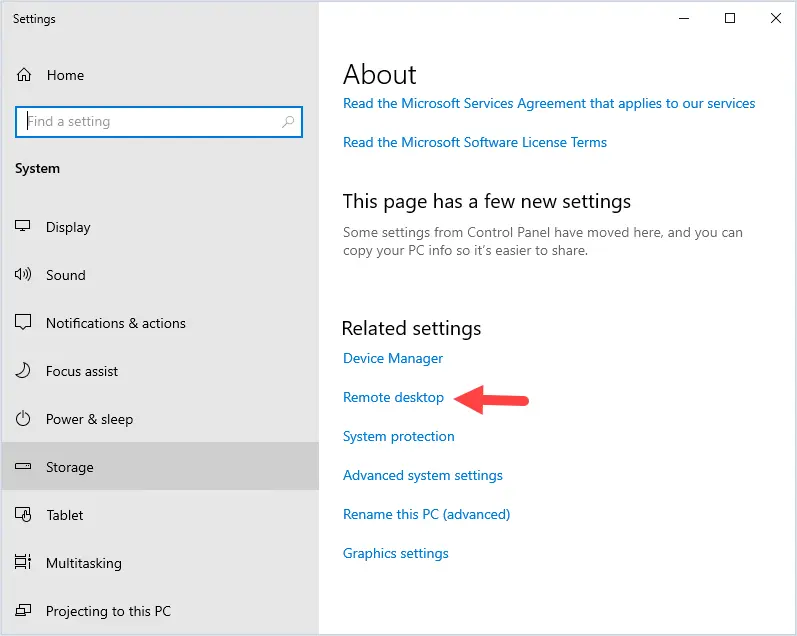
Right click the start menu and select system.
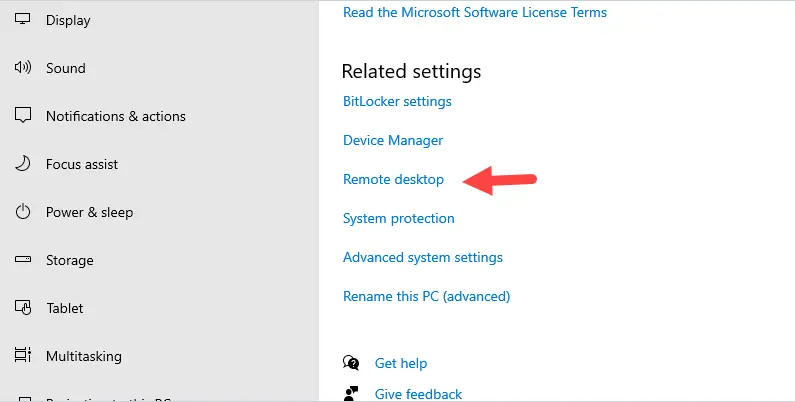
Under related settings click on Remote desktop.
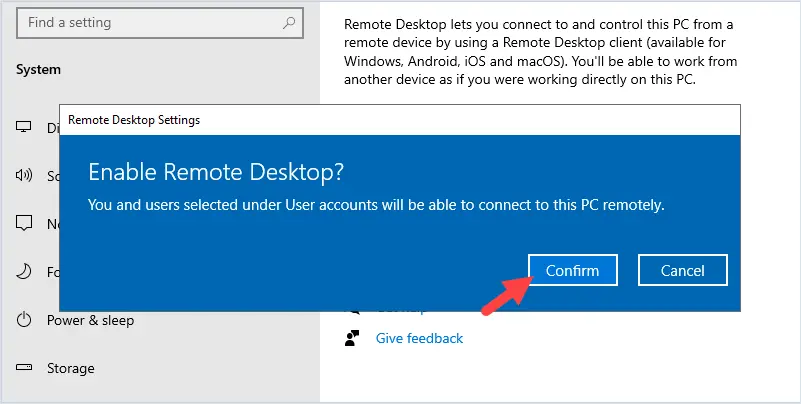
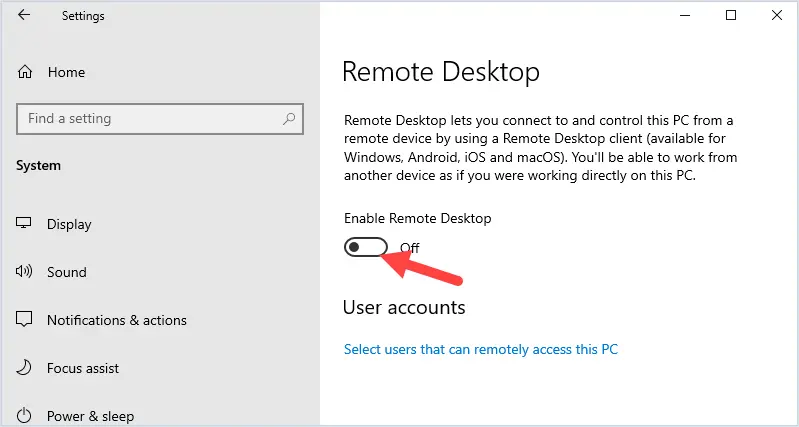
Click the slider button to enable remote desktop.
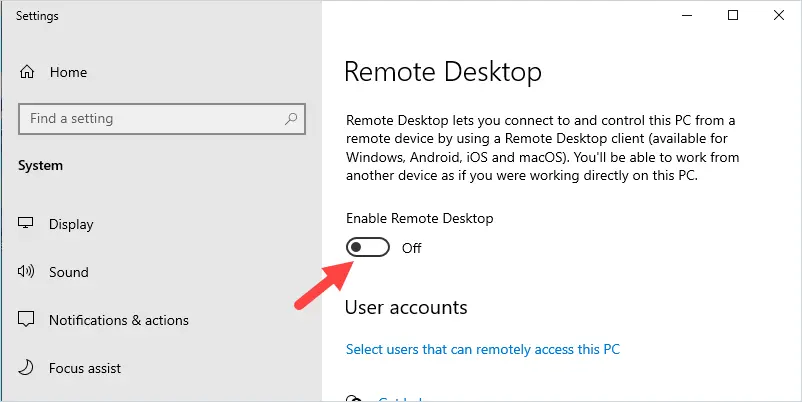
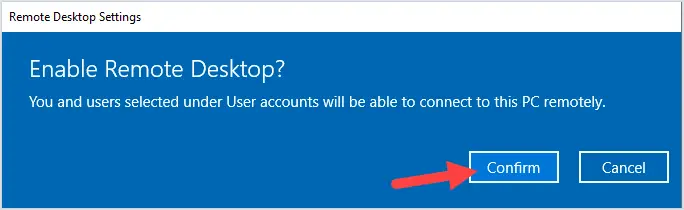
You will get a popup to confirm that you want to enable Remote desktop. Click confirm.
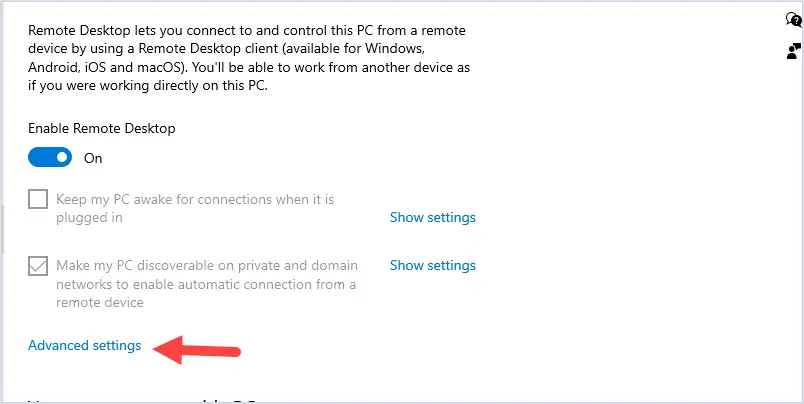
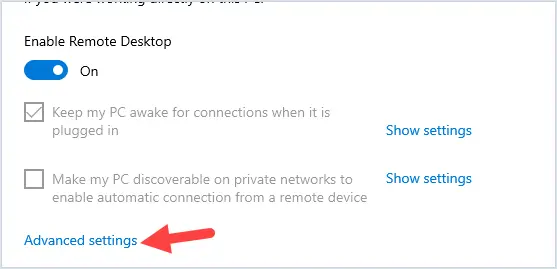
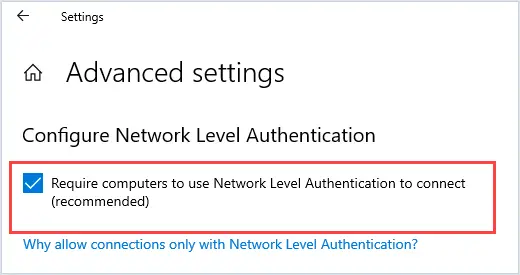
Next, Click on Advanced Settings.
Make sure “Require computers to use Network Level Authentication to connect” is selected.
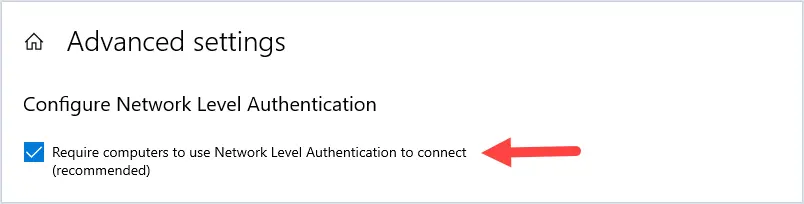
This setting will force the user to authenticate before it will start a remote desktop session. This setting will enable a layer of security and prevent unauthorized remote connections.
Step 2. Select Users Accounts
The next step is to ensure only specific accounts can use RDP.
By default, only members of the local administrators group will be allowed to connect using remote desktop.
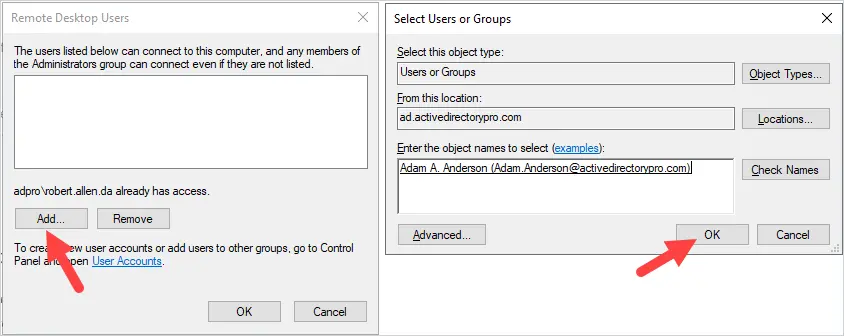
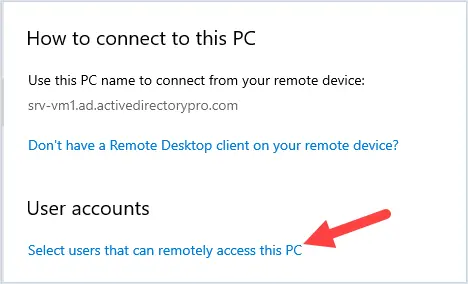
To add or remove user accounts click on “select users that can remotely access this PC”.

To add a user click the Add button and search for the username.
In this example, I’m going to add a user Adam A. Anderson.
Tip. I recommend creating a domain group to allow RDP access. This will make it easier to manage and audit RDP access.
That was the last step, remote desktop is now enabled.
Let’s test the connection.
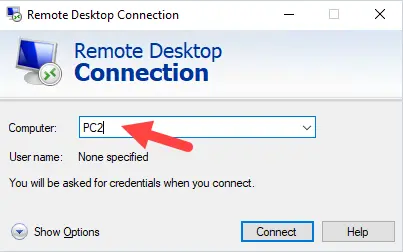
From PC1 I open Remote Desktop Connection and enter PC2.
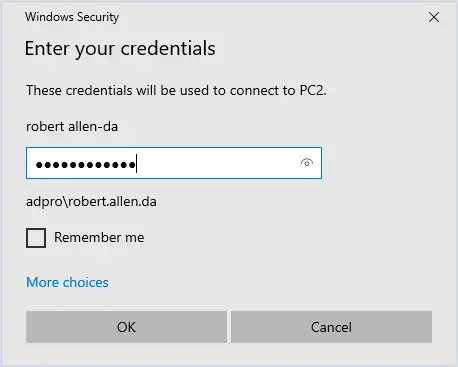
I am prompted to enter credentials.
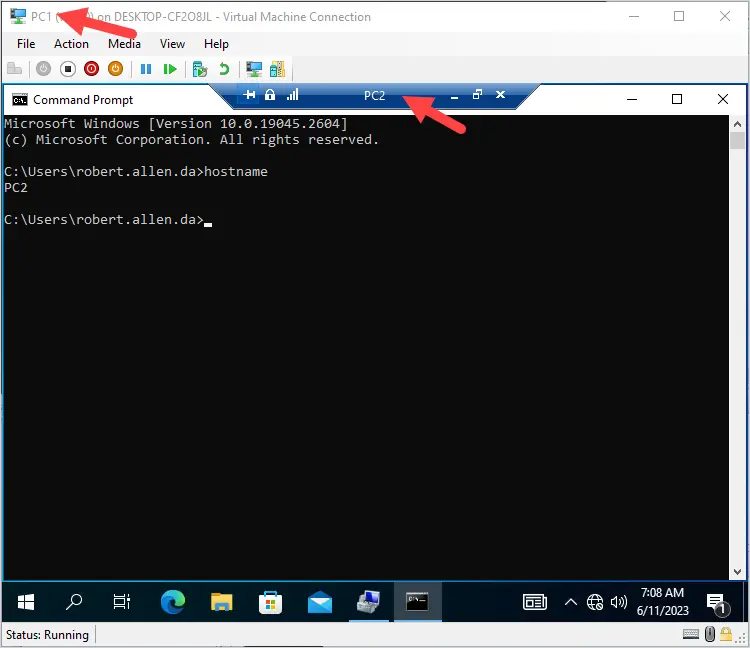
Success!
I now have a remote desktop connection to PC2.
In the screenshot below you can see I’m connected via console to PC1 and I have a remote desktop connection open to PC2.
Damware Mini Remote Control
Multiple monitor support. Reboot and wake sleeping computers remotely.
Remote access to Windows, Linux, and Mac OS X operating systems. In session chat, remote screenshot, file transfer, and more.
Enable Remote Desktop on Windows 11
In this example, I’ll enable remote desktop on my Windows 11 computer (PC3).
Step 1. Enable Remote Desktop
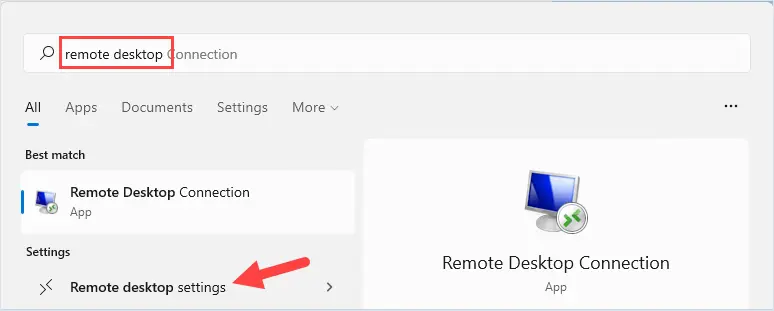
Click on search.

Enter “remote desktop” and click on “Remote desktop settings”
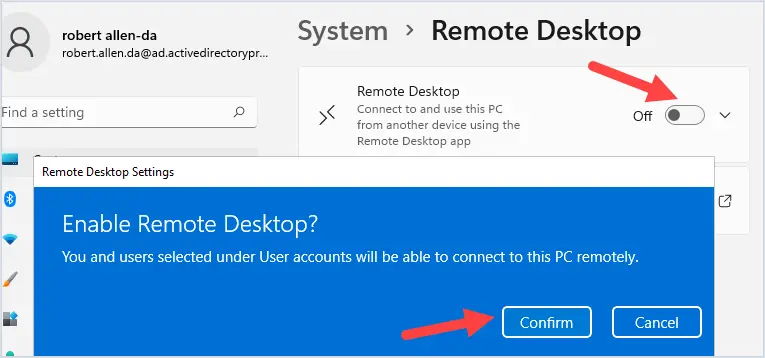
Click the slider to enable remote desktop. You will get a popup to confirm.
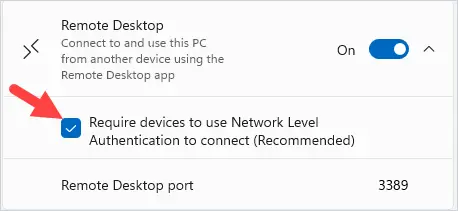
Click the down arrow and verify “Require devices to use Network Level Authentication to connect” is enabled.
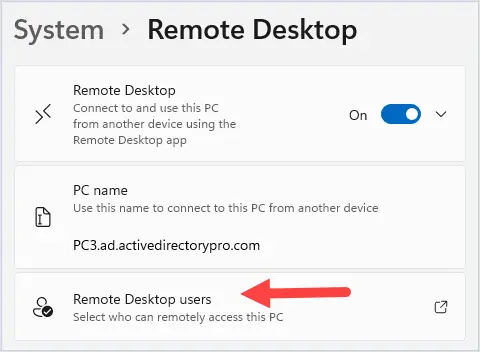
Remote Desktop is now enabled. In the next step, you will select which users are allowed to use remote desktop.
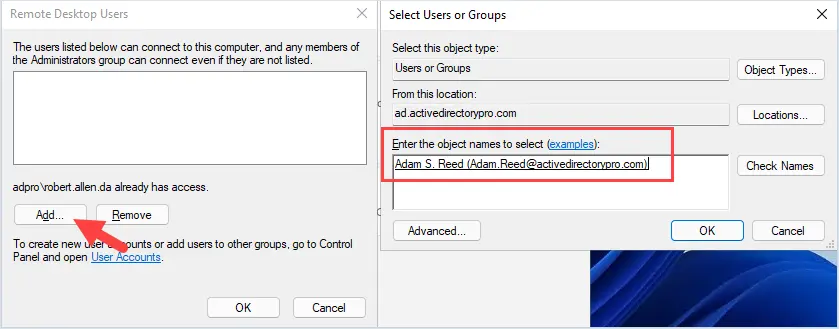
Step 2. Remote Desktop Users
By default, only members of the local administrators group can use remote desktop. To add additional users follow these steps.
Click on “Remote Desktop users”
Click on add and search or enter a user to add. In this example, I’ll add the user adam.reed.
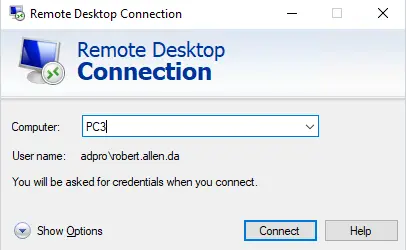
Now I’ll test if remote desktop is working.
From my workstation PC1 I’ll create a remote desktop connection to PC3 (windows 11).
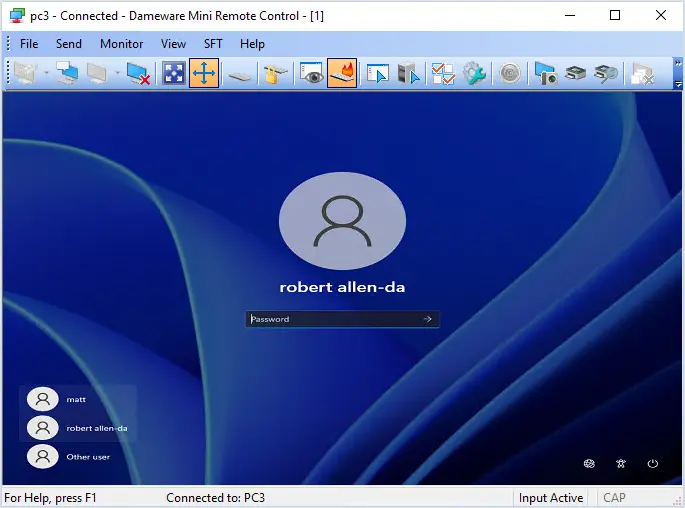
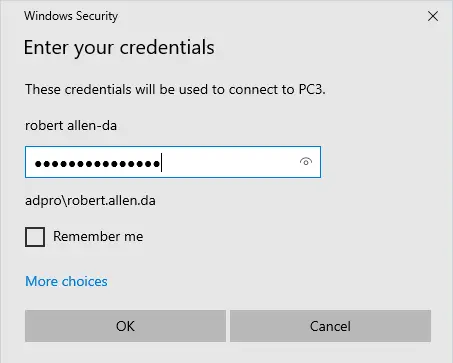
Enter the password to connect.
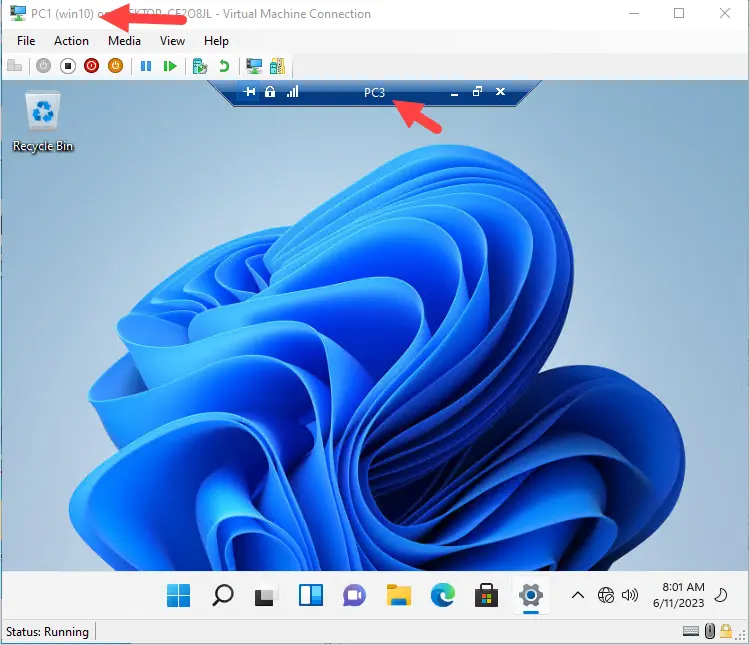
The connection is good!
You can see in the screenshot below I’m on the console of PC1 and I have a remote desktop connection to PC3 that is running Windows 11.
Enable Remote Desktop on Windows Server
In this example, I’ll enable remote desktop on Windows Server 2022.
Step 1. Enable Remote Desktop.
Right click the start menu and select System.
On the settings screen under related settings click on “Remote desktop”.
Click the slider button to enable remote desktop.
You will get a popup to confirm that you want to enable Remote desktop. Click confirm.
Click on Advanced settings.
Make sure “Require computers to use Network level Authentication to connect” is enabled.
Remote desktop is now enabled, the next step is to select users that can remotely access the PC.
Step 2. Select User accounts
By default, only members of the local administrators group will be allowed to connect using remote desktop.
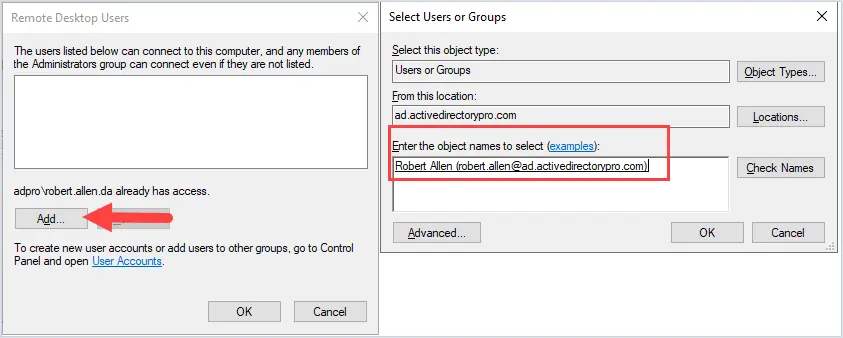
To add additional users click on click on “select users that can remotely access this pc”.
Next, click add then enter or search for users to add. In this example, I’ll add the user robert.allen. Click ok.
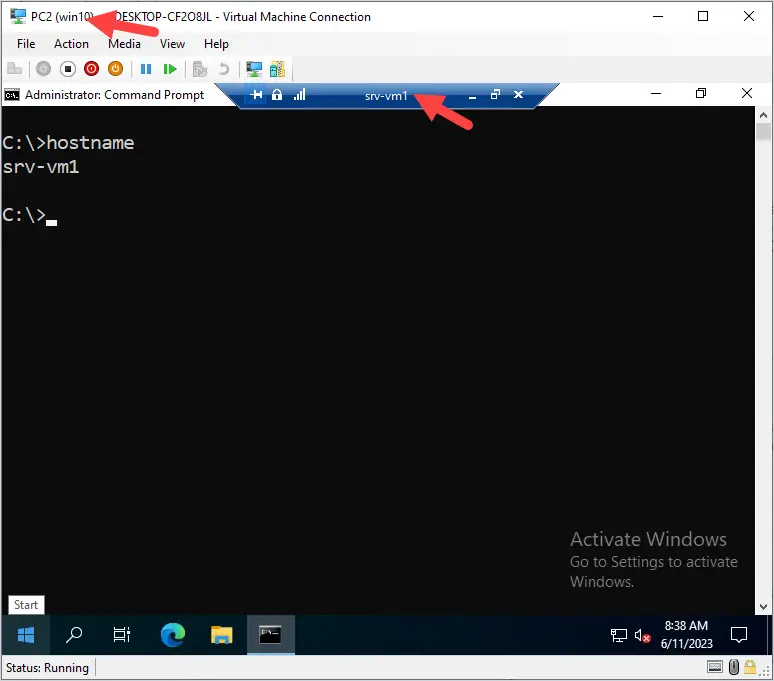
Now I’ll test if remote desktop is working on my Windows 2022 server.
From my workstation (pc2) I open the remote desktop connection client and enter srv-vm1and click connect. Enter my username and password and click ok.
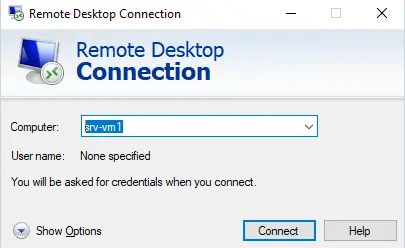
Awesome, it works!
I’ve established a remote session to my Windows 2022 server from my Windows 10 computer.
PowerShell Enable Remote Desktop
To enable Remote Desktop using PowerShell use the command below. This will enable RDP on the local computer.
Set-ItemProperty -Path 'HKLM:\System\CurrentControlSet\Control\Terminal Server' -name "fDenyTSConnections" -value 0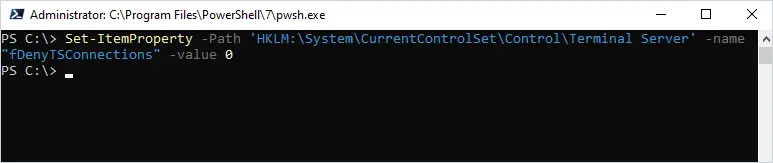
You can use the below PowerShell command to check if remote desktop is enabled.
if ((Get-ItemProperty "hklm:\System\CurrentControlSet\Control\Terminal Server").fDenyTSConnections -eq 0) { write-host "RDP is Enabled" } else { write-host "RDP is NOT enabled" }
To enable remote desktop remotely you can use the invoke-command. This requires PS remoting to be enabled, check out my article on inoke-command examples for more details.
In this example, I’ll enable remote desktop on the remote computer PC2.
invoke-command -ComputerName pc2 -scriptblock {Set-ItemProperty -Path 'HKLM:\System\CurrentControlSet\Control\Terminal Server' -name "fDenyTSConnections" -value 0} 
Group Policy Configuration to allow RDP
If you need to enable and manage the remote desktop settings on multiple computers then you should use Group Policy or intune.
Follow the steps below to create a new GPO.
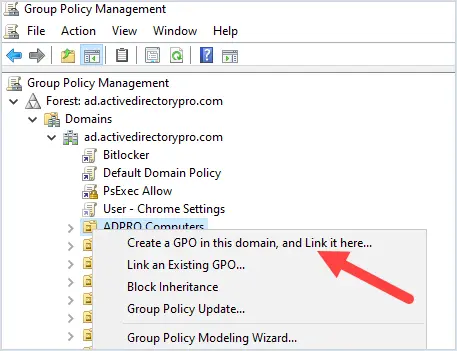
Step 1. Create a new GPO
Open the group policy management console and right click the OU or root domain to create a new GPO.
In this example, I’m going to create a new GPO on my ADPPRO Computers OU, this OU has all my client computers.
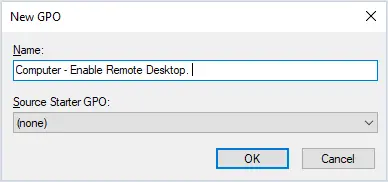
Give the GPO a name.
Edit the GPO and browse to the following policy setting.
Computer Configuration -> Policies -> Administrative Templates -> Windows Components -> Remote Desktop Services -> Remote Desktop Session Host -> Connections;
Enable the policy setting -> Allow users to connect remotely by using Remote Desktop Services
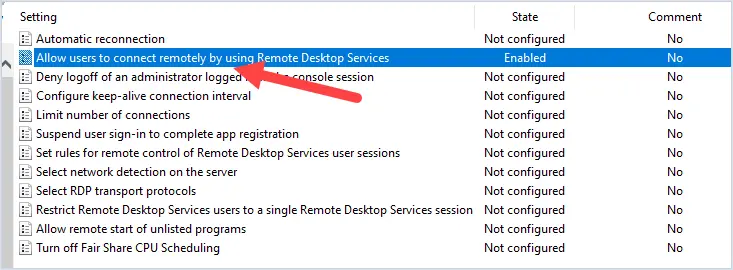
That is the only policy setting that needs to be enabled to allow remote desktop
Step 2. Update Computer GPO
The GPO policies will auto refresh on remote computers every 90 minutes.
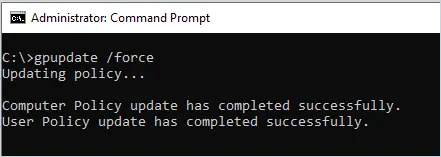
To manually update GPO on a computer run the gpupdate command.
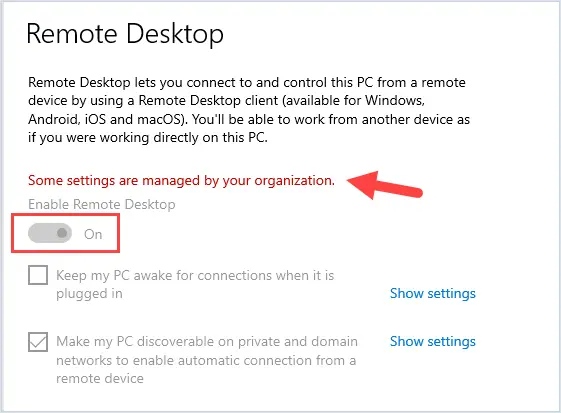
When remote desktop is managed with group policy the settings will be greyed out. This will allow you to have consistent settings across all your computers. It will also prevent users or the helpdesk from modifying the settings.
That’s a wrap.
I just showed you several ways to enable remote desktop on Windows computers. If you are using Active Directory with domain joined computers then enabling RDP via group policy is the best option.