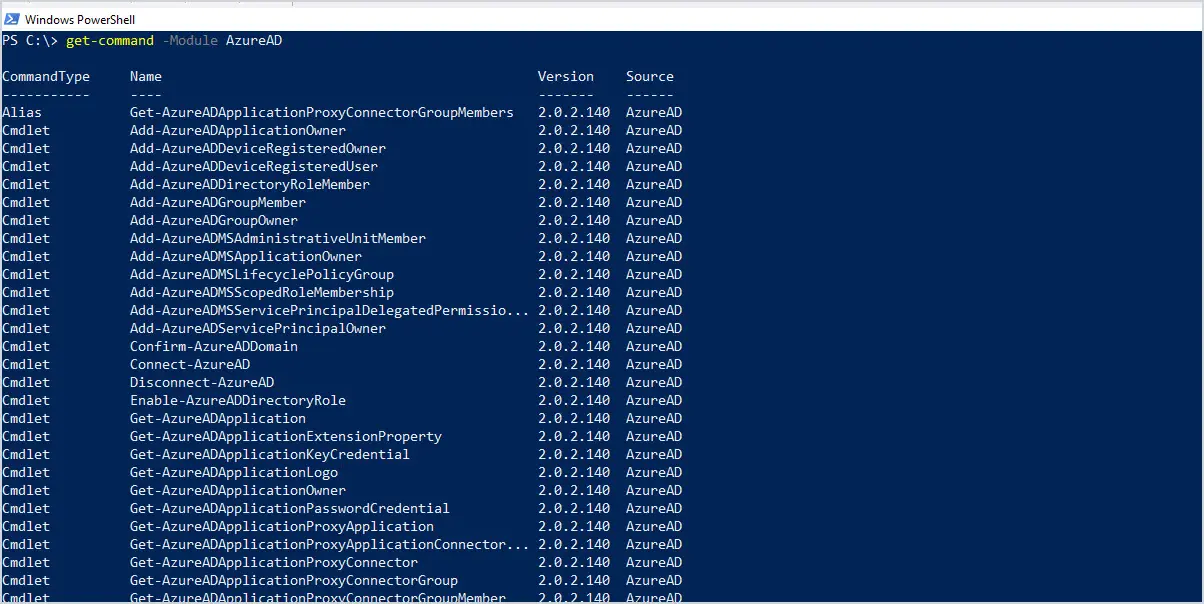
In this post, you will learn how to connect to Entra ID (formerly known as Azure AD) using PowerShell.
The AzureAD PowerShell module has been deprecated and is replaced with the Microsoft Graph PowerShell module.
- Deprecation Date: As of March 30, 2024, the AzureAD, AzureADPreview, and MSOnline PowerShell modules are deprecated.
- End of Functionality: The AzureAD module will continue to function until March 30, 2025.
More details in the MS blog post
Important update: Deprecation of Azure AD PowerShell and MSOnline PowerShell modules
Requirements
To connect to Entra ID with PowerShell the following is required.
- PowerShell 7 and later is the recommended PowerShell version
- Microsoft.Graph PowerShell module
- .net 4.7.2 or later
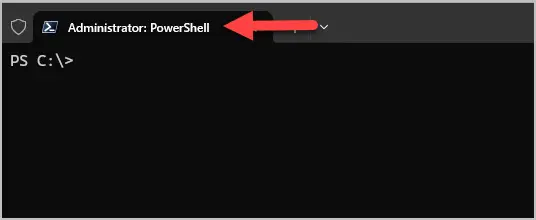
Step 1: Open PowerShell as Administrator
PowerShell should display “Administrator” in the upper right corner.
Step 2. Install Microsoft Graph Module
Enter the below command and press enter to start the install.
Install-Module Microsoft.Graph -Scope CurrentUser
Microsoft graph installs multiple modules so it might take a few minutes to complete the install.

Step 3. Verify install
Run the below command to verify the Microsoft.Graph module is installed.
Get-Module Microsoft.Graph -ListAvailable
Step 4. Connect to Entra ID (Azure AD) with PowerShell
Connect-MgGraph -Scopes "User.Read.All", "Group.ReadWrite.All"When you run the above command, you will be prompted in the browser to sign into 365. You might also be prompted to accept the permissions requested.
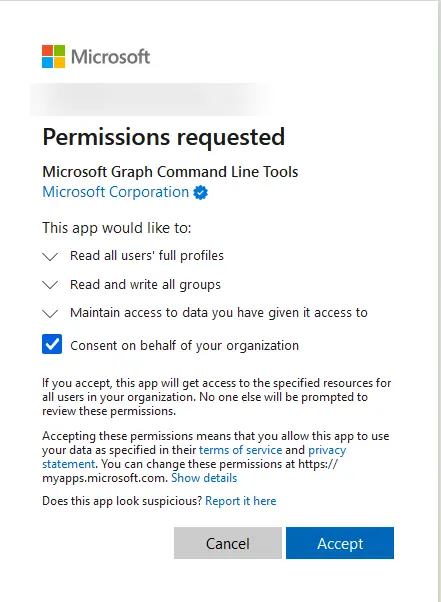
When connected you should see an “Authentication complete” message in your browser and a welcome message in PowerShell.

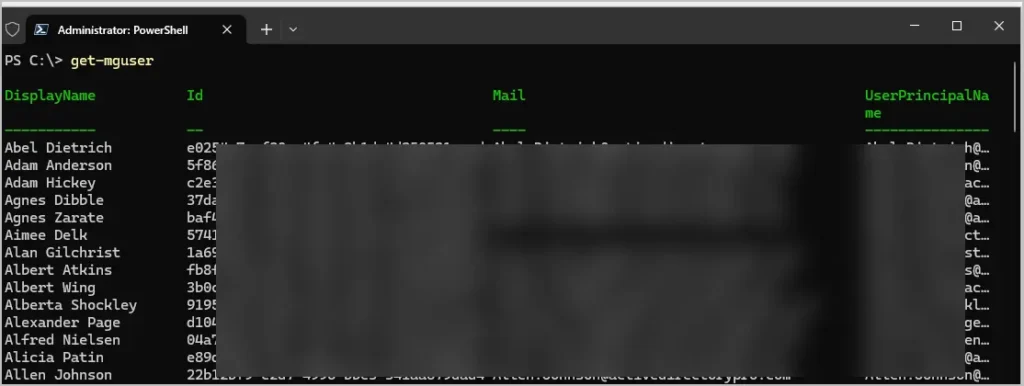
You can now run commands to interact with your 365 tenants.
We hope you found this tutorial helpful. And if so, you may be interested in these resources:
