In this tutorial, I’ll show you how to create reverse DNS lookup zones and PTR Records on Windows Server.
Reverse lookup zones are used to resolve IP addresses to a hostname. For reverse lookup zones to work they use a PTR record that provides the mapping of the IP address in the zone to the hostname.
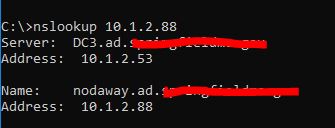
For example, I can look up the IP 10.1.2.88 and see that it resolves to the hostname “nodaway”. Without a reverse lookup zone and PTR record, I would not be able to do this.
Do You Really Need Reverse Lookup Zones and PTR Records?
Every network is different so it depends. Unless you host your own email server or have an application that requires it may not be required.
Even if you don’t have requirements for them I still recommend setting them up because they are extremely helpful when troubleshooting. You can read more about this in my DNS Best Practices guide.
How to Create Reverse Lookup Zone
Step 1: Open the DNS Management Console
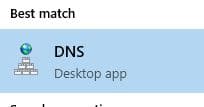
On your Windows Server type DNS in the search box to quickly find the DNS console.
Step 2: Create New Reverse Lookup Zone
In the DNS console right click on “Reverse Lookup Zones” and Select “New Zone”.
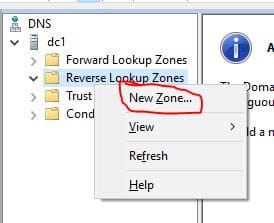
This will start the new zone wizard.
Step 3: Choose Zone Type (New Zone Wizard)
On the Zone Type page select Primary Zone.
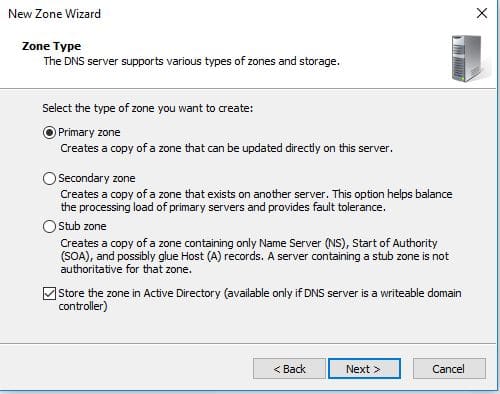
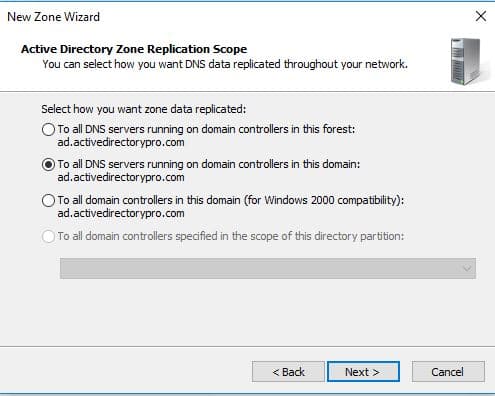
Choose to replicate to all DNS servers running on domain controllers in this domain.
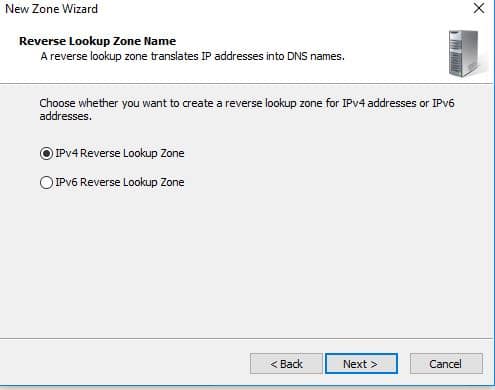
Choose IPv4 or IPv6, for this demo I’m setting up IPv4.
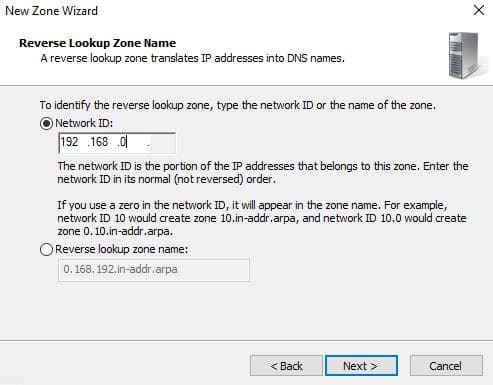
Now, type in the start of the subnet range of your network.
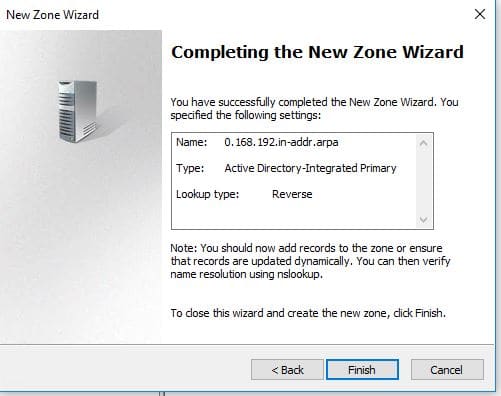
For this demo, I’m creating a zone for subnet 192.168.0.0/24.
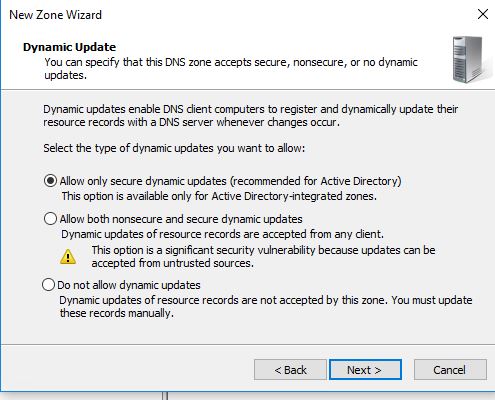
Choose the dynamic update option.
I recommend picking the first option “Allow only secure dynamic updates”.
That completes the wizard, click finish.
Verify Reverse Lookup Zone
Back in the DNS console click on “Reverse Lookup Zone”
I can now see the new zone listed. The subnet will display backwards which is normal.
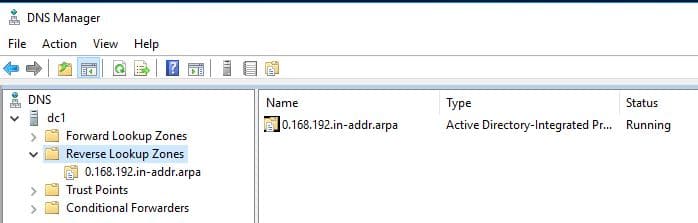
Now I’ll click the 0.168.192.in.addr.arpa zone to view the DNS records.
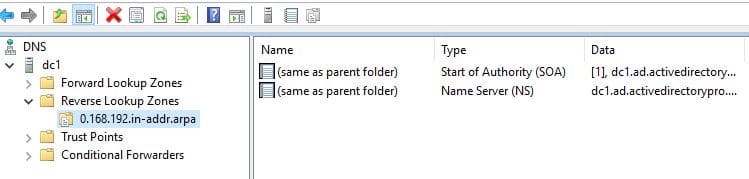
So far I have only the SOA and NS resource records, no PTR records.
Once clients start dynamically updating their DNS the PTR records should start populating. You can also manually create PTR records for systems that are not configured to dynamically update.
How to Create PTR Records
Let’s walk through manually creating a PTR record. This is only needed if a system is not configured to dynamically update. This may be the case for systems with static IP addresses like servers.
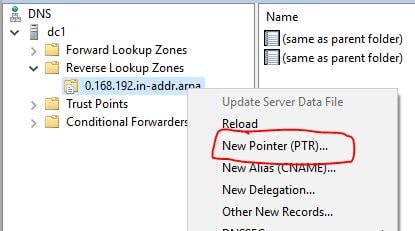
Right click the zone and select “New Pointer (PTR)”.
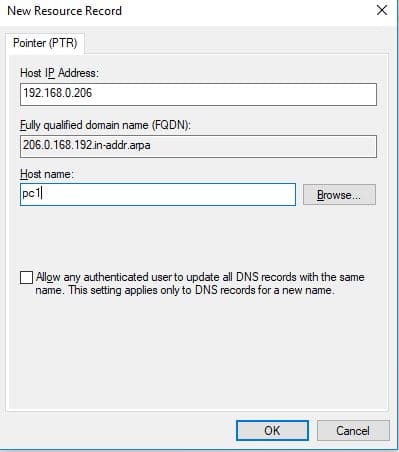
Enter the Host IP Address and Host name fields and click OK.
I’m creating a record for IP, 192.168.0.206 with the hostname of pc1.
Back in the DNS console, I can see the PTR record listed.

How to Verify PTR Record Is Working
To verify the PTR record is working you can use the nslookup command.
Open Powershell and type nslookup followed by the IP you want to lookup.
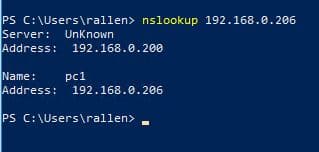
You can see in the picture above the IP returned the hostname PC1.
That is all there is to it.
Pretty easy right?