Learn how to configure OAuth authentication for Office 365. In this example, I’ll setup the AD Pro Toolkit application to use OAuth authentication for sending emails.
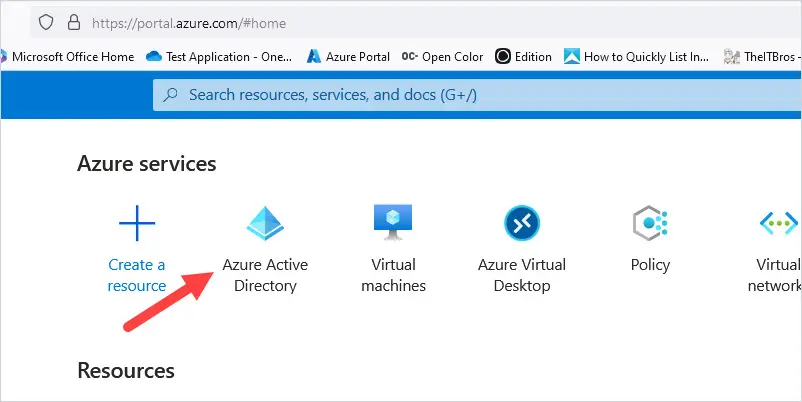
Step 1. Log into Microsoft Azure
Then click on Azure Active Directory
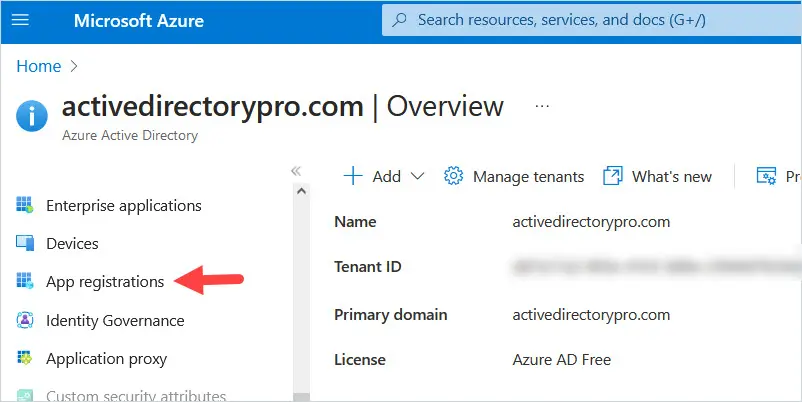
Step 2. Click on App Registration on the left.
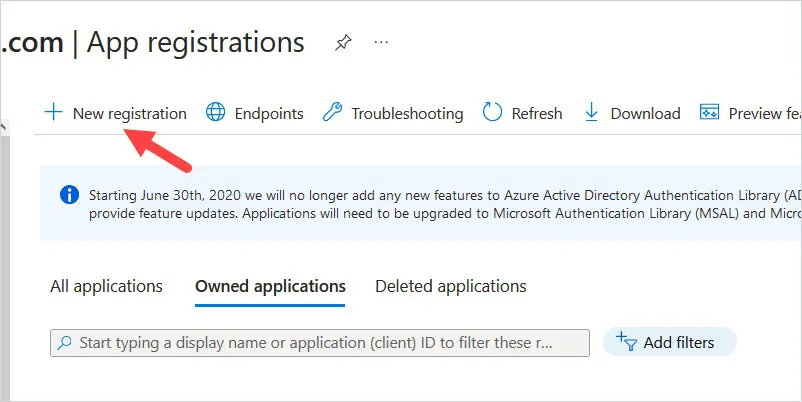
Step 3. Owned Applications will be selected, click on New Registration.
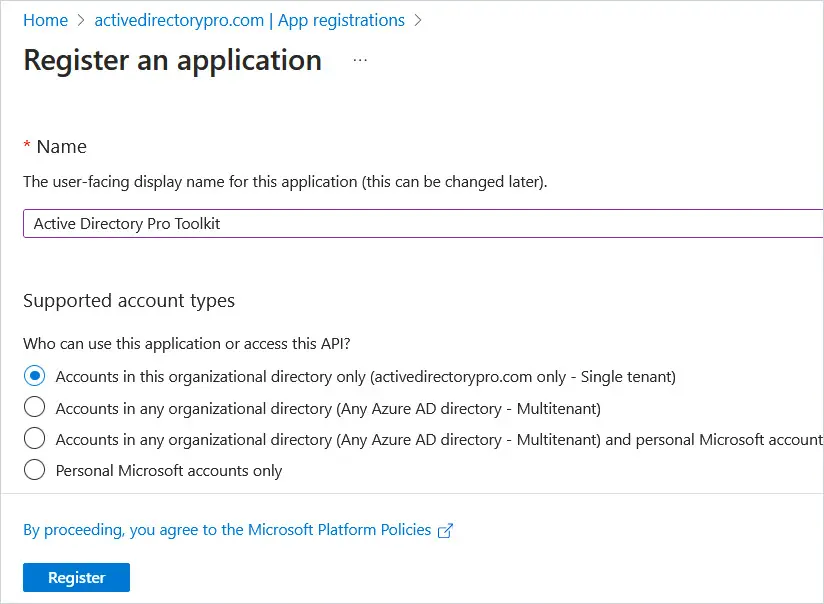
Step 4. In the Name field, enter a descriptive name. I’ll enter Active Directory Pro Toolkit. Leave “Accounts in this organizational directory only” selected and click Register.
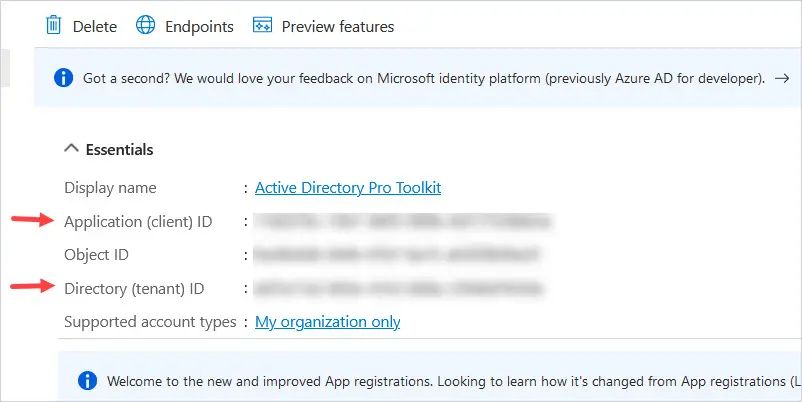
Step 5. This will take you to the Overview section of the newly registered app.
Under the Essentials section, copy the Application(client) ID and the Directory (tenant) ID. Leave this window open as you will need to make changes to the app registration.
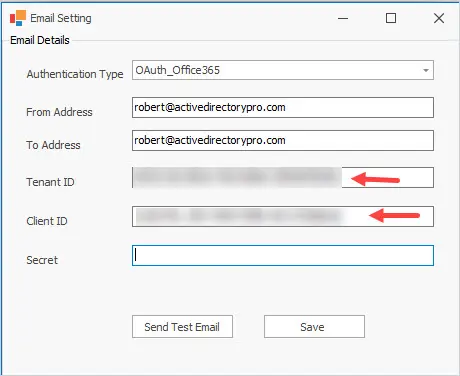
Step 6. Paste the Application (client) ID and the Directory (tenant) ID into your apps settings.
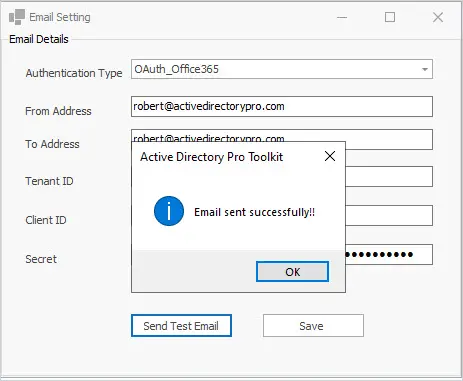
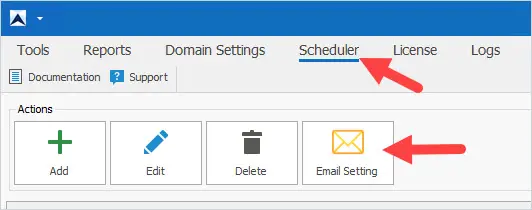
For the AD Pro Toolkit click on Scheduler at the top and click on email settings.
Select Oauth_365 in the Authentication Type drop down menu. Paste the Application (client) ID in the Client Id field. Paste the Directory (tenant) ID into the Tenant Id field.
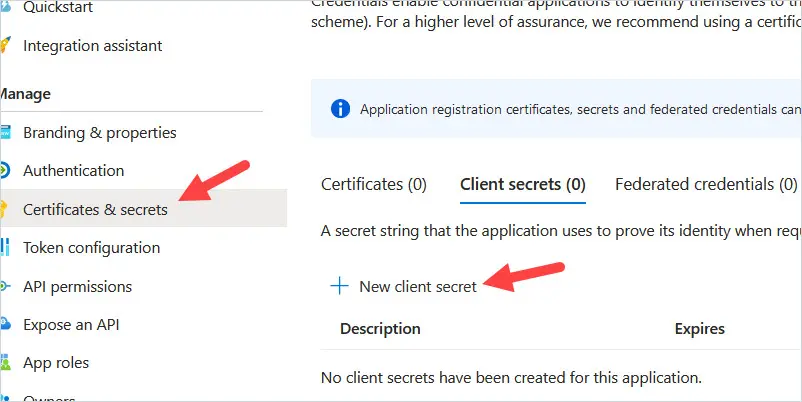
Step 7. Back in Azure Active Directory, from the left menu, click on Certificates & Secrets. Click on New client secret.
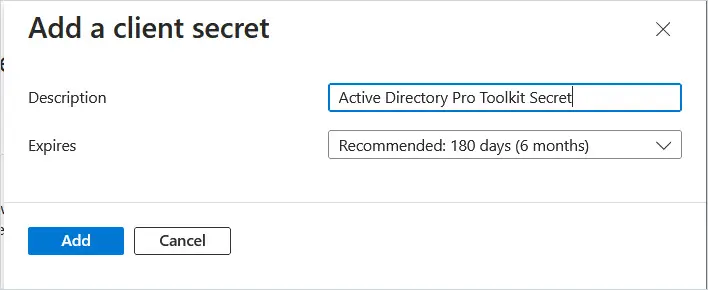
Step 8. Under Add a client secret, enter a description (for example Active Directory Pro Toolkit Secret). Select an expiration period. 6 months is recommended, but you can go longer. Click Add.
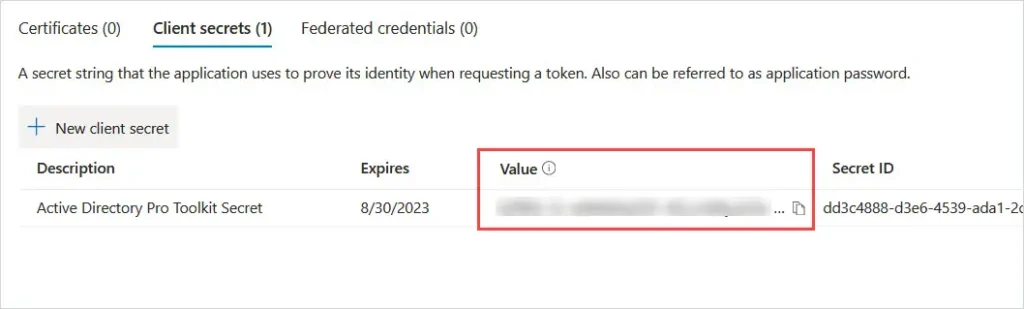
Step 9. Copy the Value, not the Secret ID that is displayed, do this now as you will not be able to see the value again.
Step 10. Back in your application, paste the value into the secret field.

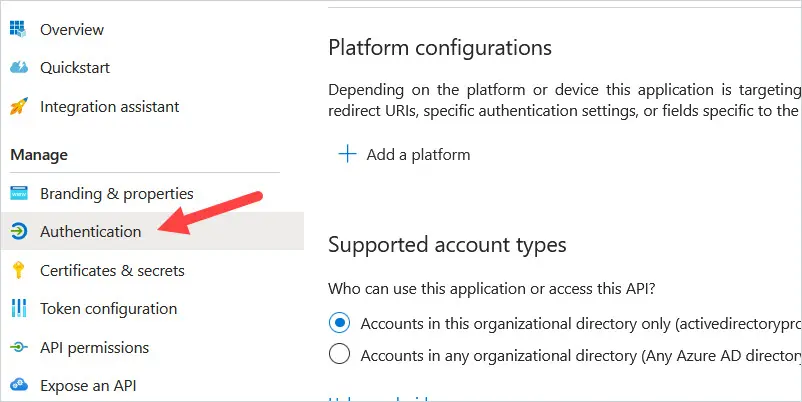
Step 11. Back in Azure Active Directory, click on Authentication on the left menu.
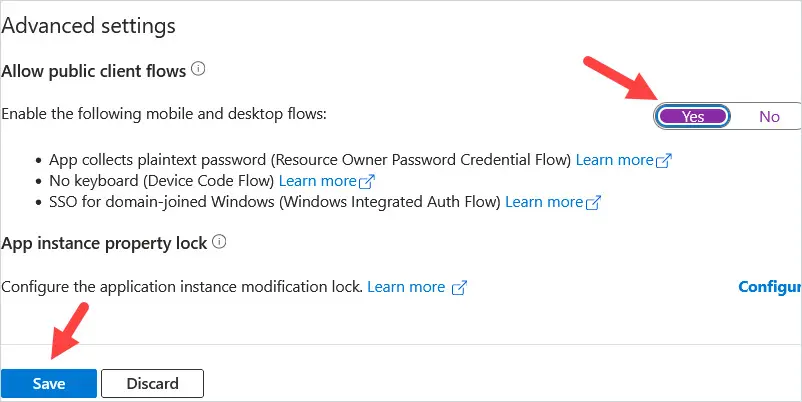
Step 12. Under Advanced Settings, toggle the slider to Yes under Allow public client flows. Click Save.
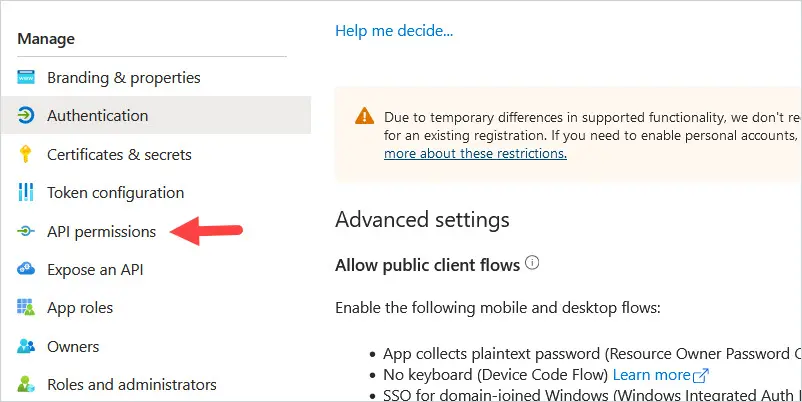
Step 13. Click on API permissions in the left menu.
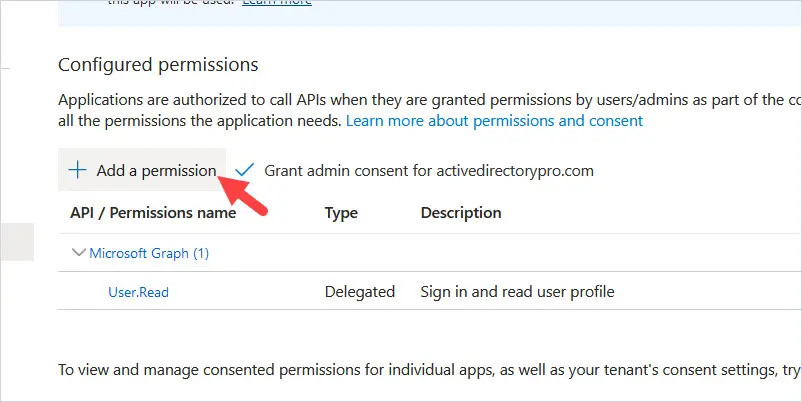
Step 14. Click on Add a permission.
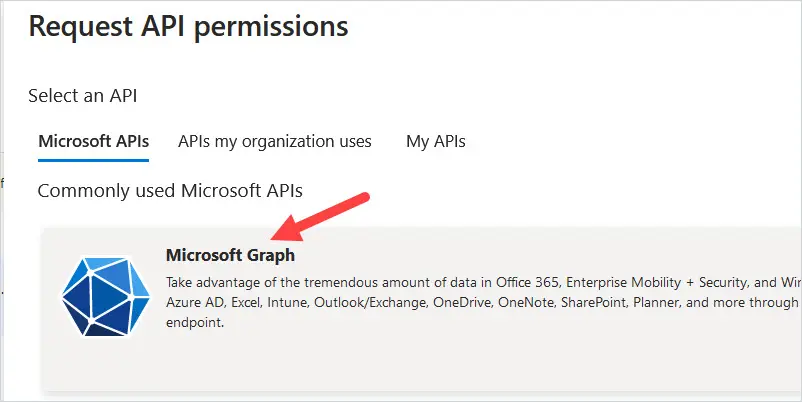
Step 15. Click on Microsoft Graph.
Step 16. Request API permissions will be displayed. Click on Application Permissions.
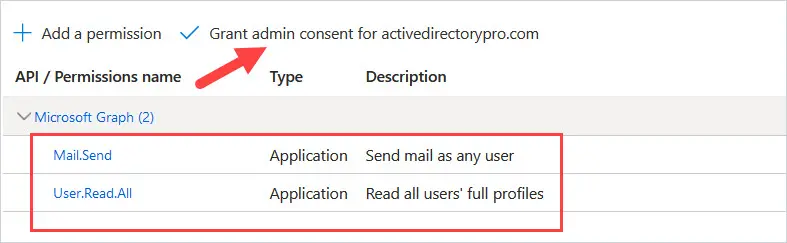
Step 17. Locate the Mail section under Permission. Select Mail.Send. Also, Locate the User section and select User.Read.All
Click Add permissions.
You should now have two permissions listed. Click on grant Admin consent.
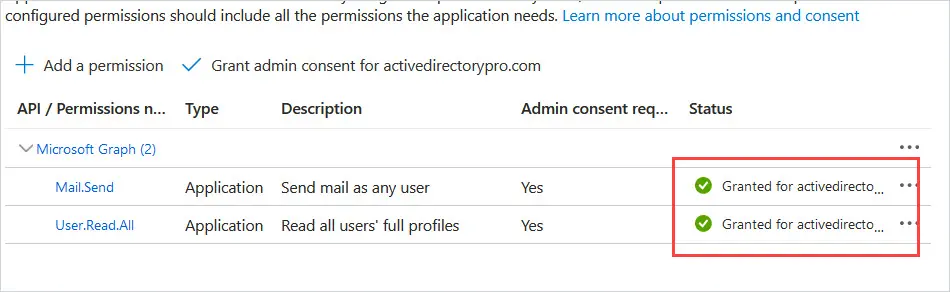
Step 18. Click Yes on the confirmation.
Step 19. You will see a green check that access has been granted for your tenant.
That completes the configuration steps for Office 365 OAuth.
You should now be able to send emails from your application.