Update AD User Attributes
In this guide, you will learn how to update AD user Attributes using the AD Pro Toolkit.
This is useful if you need to update information for many Active Directory user accounts. For example, you need to update the office, street, manager, city, state, job title, company and so on.
Warning
This tool is very powerful, and you can easily change the settings on multiple accounts at once. Use the following tips
- Run a small test first – Before trying to mass update accounts you should do a test run on a small number of accounts to ensure they update as expected.
- CSV Headers are case sensitive – The CSV header must match the correct spelling of the LDAP name. You can add and remove columns just make sure they are spelled correctly.
- Existing user values – If an attribute already has a value, the tool will overwrite it. If the cell is blank in your CSV template, then that attribute is ignored for the user.
- Remove option – You can remove values by adding remove in the CSV file. You can update and remove attributes at the same time.
How to Update AD User Attributes from a new CSV Template
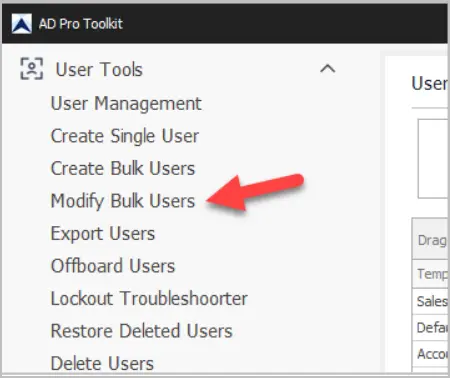
- From the left menu click on “Modify Bulk Users”

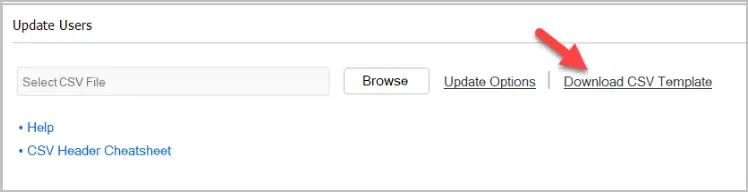
- Click on “Download CSV Template”.

- Modify the CSV template and add your accounts and details that you want to update. You can remove any columns from the spreadsheet that you don’t need.
You can use one of the columns below to identify the accounts.
- sAMAccountName (default)
- EmployeeID
- EmployeeNumber
- UserPrincipalName
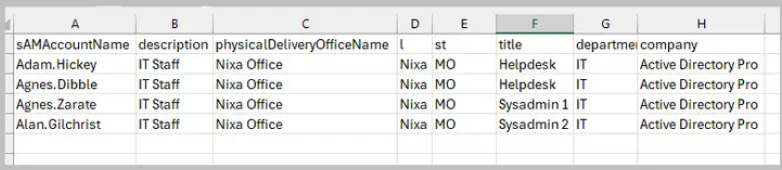
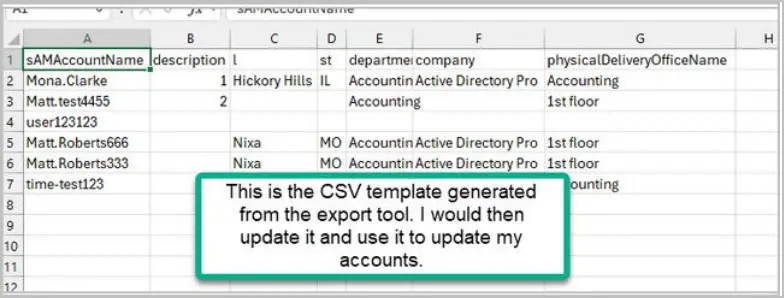
- CSV Example: In this example, I’m going to update the description, office, city, state, title, department and company. I’m using the sAMAccountName attribute to identify the accounts, I’ve also removed the columns I don’t need.

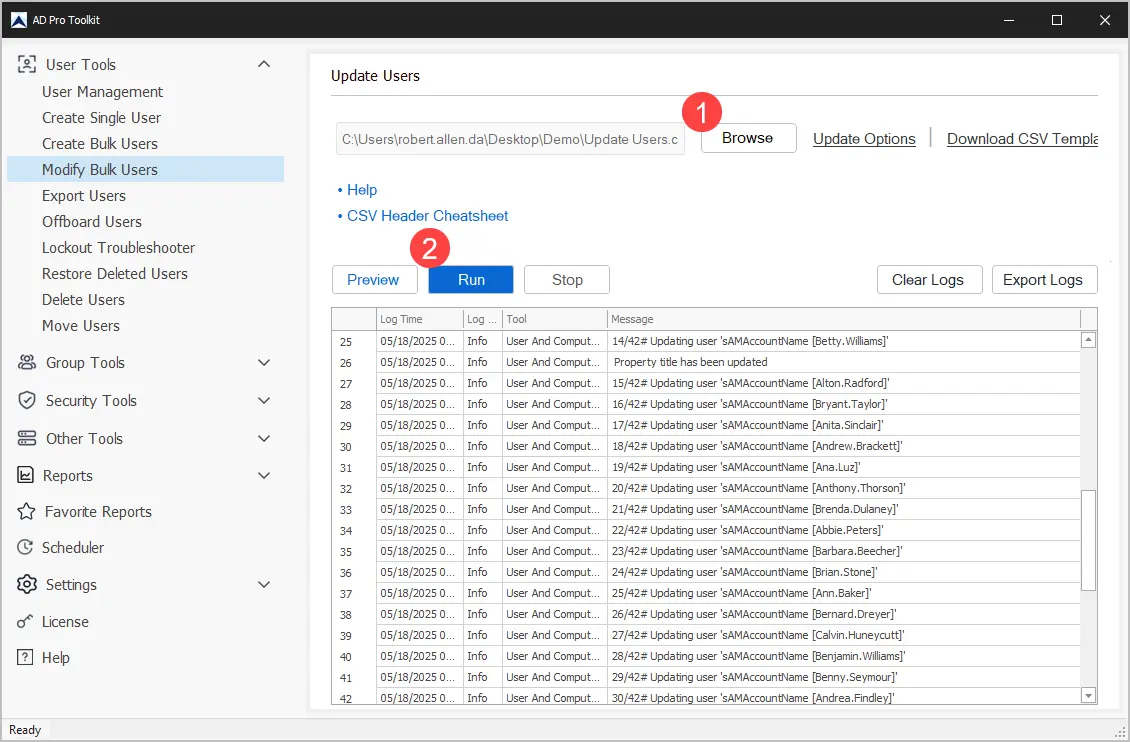
When your CSV file is configured move to the next step. - From the left menu open the “Modify Bulk users” tool.
- Select your CSV template and click run.
Note: If you are not using sAMAccountName to identify accounts, then you need to click “Update Options” and select the column you are using.
- Review logs for errors. If the update failed for any accounts the log will display an error.
Update Users by Exporting a list of users
The AD Pro Toolkit includes a user export tool, this will save you time from manually creating a CSV template.
In this example, I’m going to generate a list of all users in the Accounting OU.
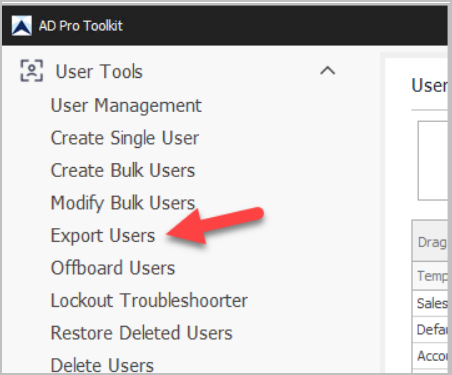
- Click on “Export Users”.

- Click “Browse” to select an OU or group. In this example, I’m going to select my Accounting OU.
- Click “Columns” and add/remove the columns you want to update.
- Click “Run” to preview and then click export and select “Export to CSV”.
- Now you should have a CSV template with the list of users and attributes you want to update. Next, just update the CSV with the new details and run the tool to process the csv.

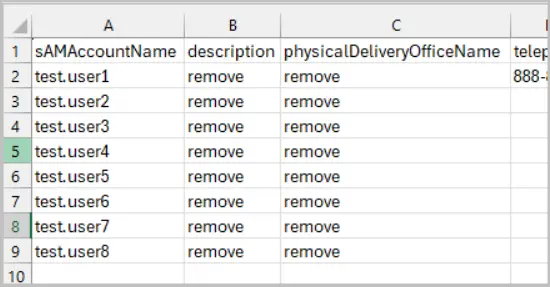
Remove User Attributes
To remove user attributes put remove in the column. See the picture below for an example. In this example, I’ll remove the description and office attributes for multiple users.