In this article, you will learn how to configure an interactive logon message using group policy. I’ll also show you how to disable the interactive logon message on specific computers.
The interactive logon message is typically used to display a legal notice to end users. The logon message appears on the screen before the user enters their username and password. The user must acknowledge the message by clicking the “OK” button before they can login to the computer.
How to Configure Interactive Logon Message Using GPO
In this example, I’m going to enable the logon message for all computers. You can enable the message for specific computers by applying the GPO to certain OUs.
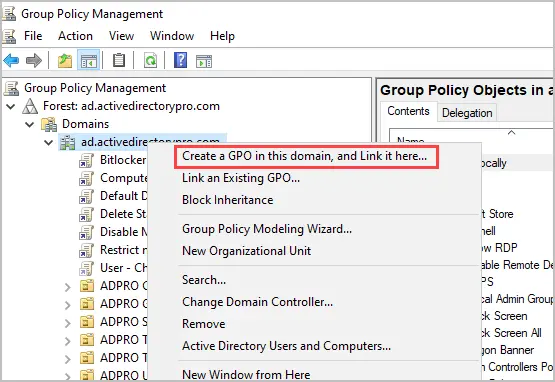
- Open the Group Policy Management Console.
- Add a new GPO to the domain level to configure the logon message for all computers.

- Give the GPO a name. (Example, Interactive Logon Banner)
- Edit the new GPO
- Navigate to the following: Computer Configuration > Policies > Windows Settings > Security Settings > Local Policies and select Security Options.
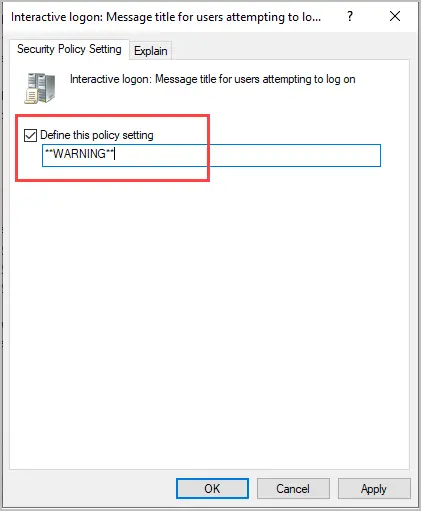
- Edit the policy: Interactive logon: Message title for users attempting to log on. Enable “Define this policy settings” and enter a title and click “OK”.

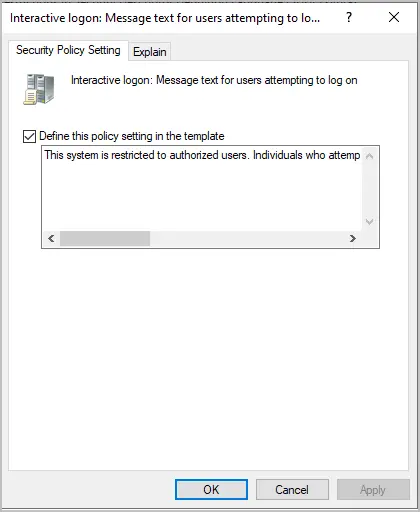
- Edit the policy: Interactive logon: Message text for users attempting to log on. Enable “Define this policy setting in the template” and enter your text. Example text below.
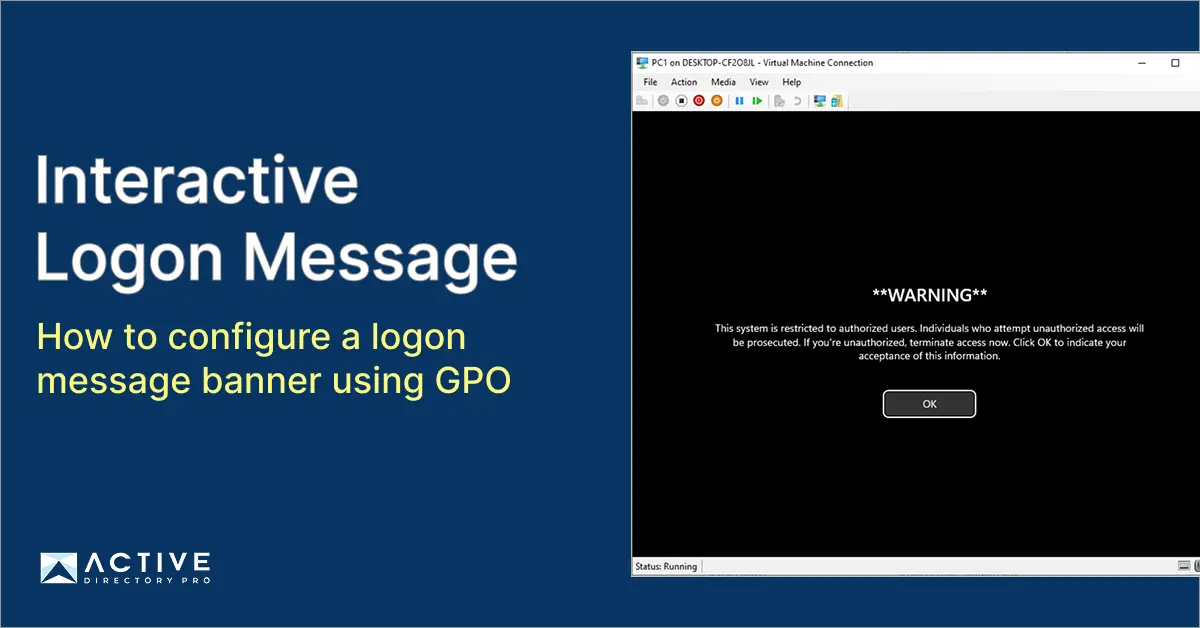
This system is restricted to authorized users. Individuals who attempt unauthorized access will be prosecuted. If you're unauthorized, terminate access now. Click OK to indicate your acceptance of this information.
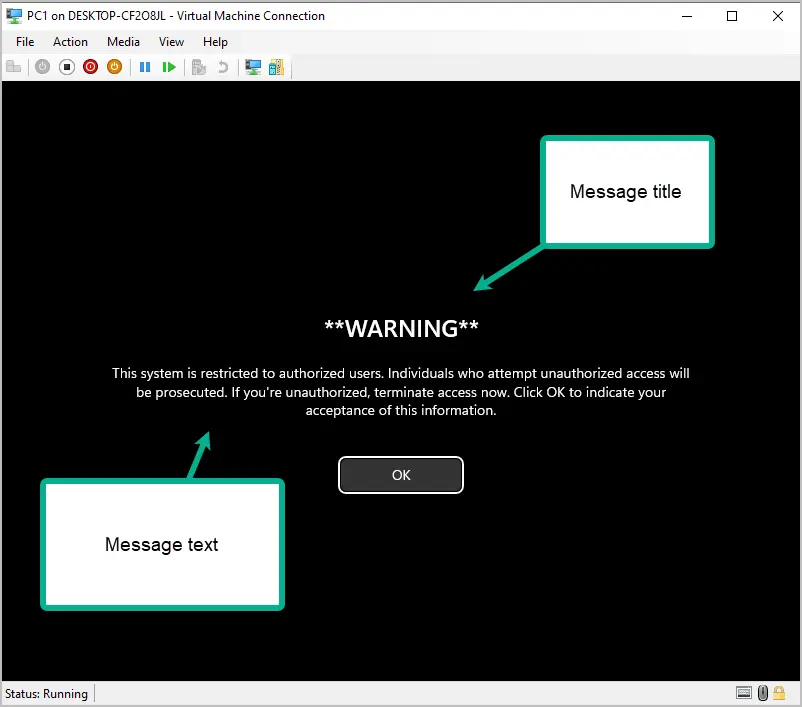
- Reboot or run gpupdate on a computer to verify the interactive logon banner is displaying.
Here is an example of the interactive logon message.
Disable Interactive Logon Message for Specific Computers
If you enabled the logon message to the entire domain, you would probably have to make some exceptions. A simple way to disable the logon message for specific computers is to add the computer to a group and deny the group “Apply group policy” permissions.
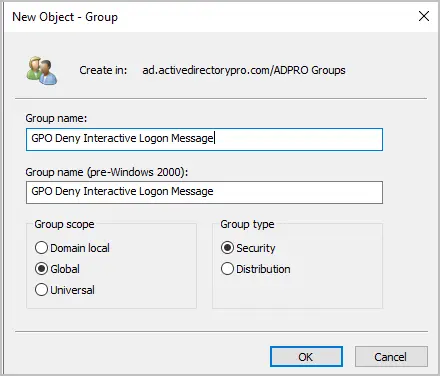
- Create a new Active Directory security group. Give it a descriptive name such as “GPO Deny Interactive Logon Message”.

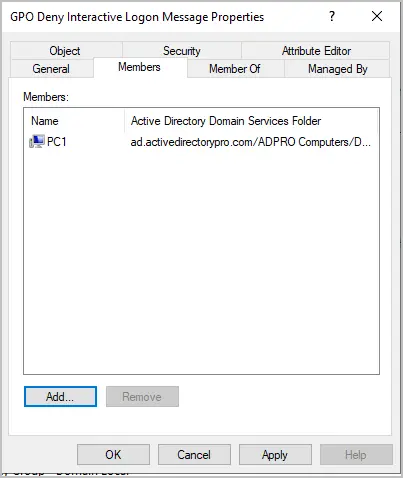
- Add the computers you want to disable the message for as a member of this group. In this example, I’m adding PC1.

- Open group policy management console.
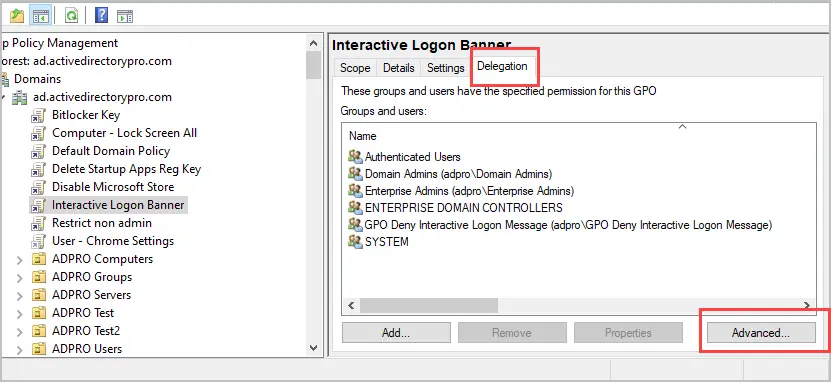
- Select your GPO that has the interactive logon message configured.
- Click “Delegation” and then Advanced.

- Click “Add”.
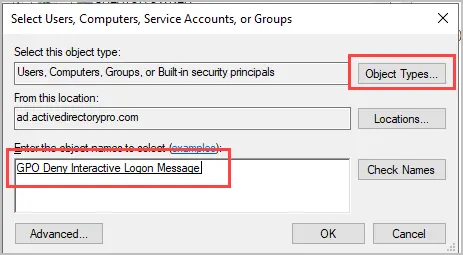
- Add the group you created from step 1.
Note: You will need to click “Object Types” and select “Computers”.
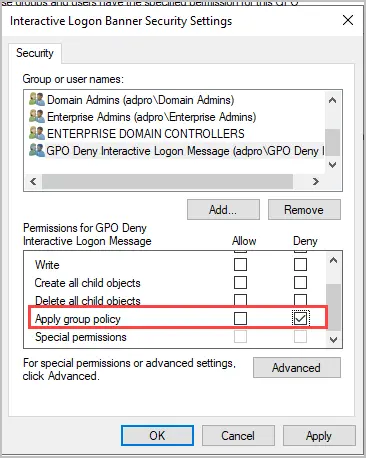
- On the GPO settings, select your group and click Deny for Apply group policy.

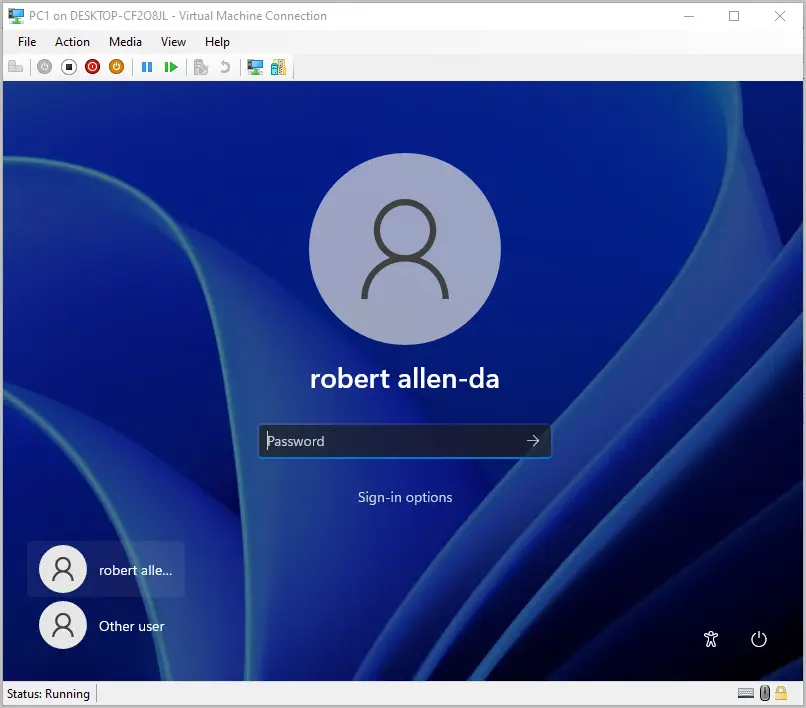
- Reboot the computer and verify logon message has been disable. You can see in the screenshot below my PC1 no longer displays the logon message.

Now you can easily disable the logon message for additional computers by adding them to your security group. This also makes it easy for other staff members to see which computers have the message disabled.