In this guide, I’ll show you how to check the uptime of a Windows Server and Windows client computers.
Checking the Windows uptime will show you how long the server has been running since it was last rebooted. This comes in useful when troubleshooting a Windows server for performance or application issues.
Windows Server Uptime Command
In this example, I’ll use a simple Windows command to check the server uptime.
Open the command prompt:
Copy and paste the command below:
systeminfo | find “System Boot Time”Check the system Boot Time:
The command will display the date of the last boot time.

Option#2 Windows Uptime GUI Tool
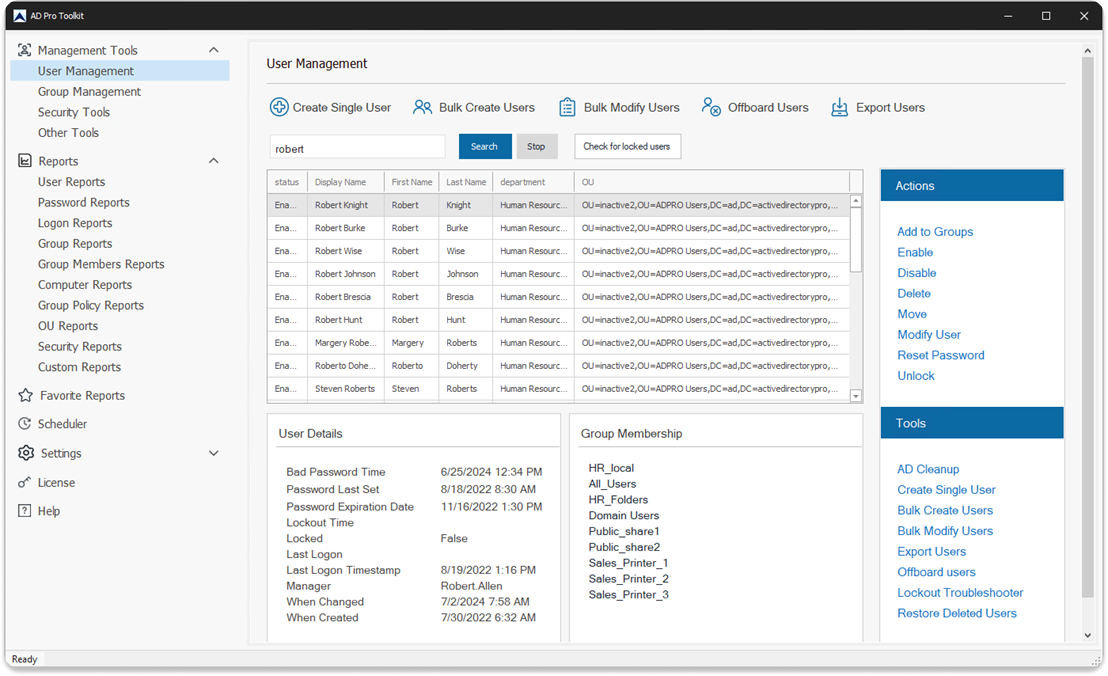
In this example, I’ll use the AD Pro Toolkit to check the update on all computers.
Step 1. Open the AD Pro Toolkit and click on Windows Uptime.
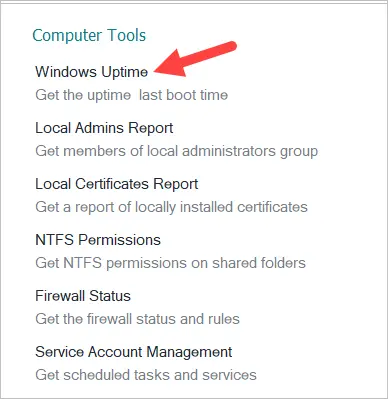
Step 2. Click “Run” to get the uptime on all servers and computers.

I don’t have many computers in my test environment but you can see how easy the toolkit makes it for generating a report on uptime and last boot.
You can also export the report to csv, xlsx, and PDF by clicking the export button.
How to Check Windows Server Uptime with PowerShell
This command will work on PowerShell 5.1 or later versions.
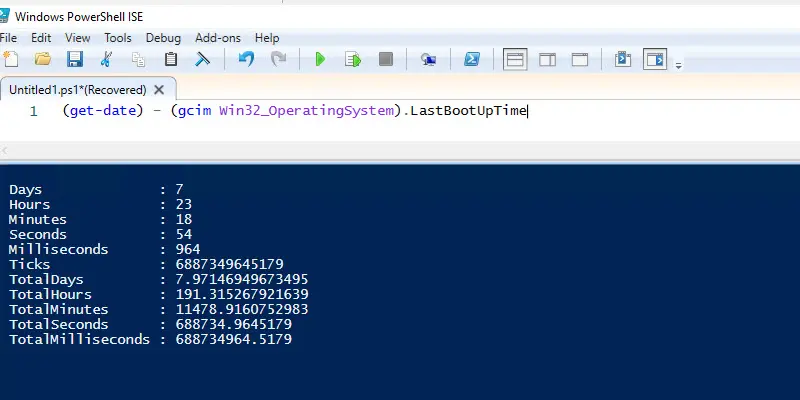
Open PowerShell and use the command below.
(get-date) – (gcim Win32_OperatingSystem).LastBootUpTimeThis command will show you how long it has been since the last reboot. It will display the uptime in days, hours, minutes, and seconds.
Another Powershell command that can be used to get the server uptime is the get-uptime cmdlet. The get-uptime cmdlet requires PowerShell version 6 or later.
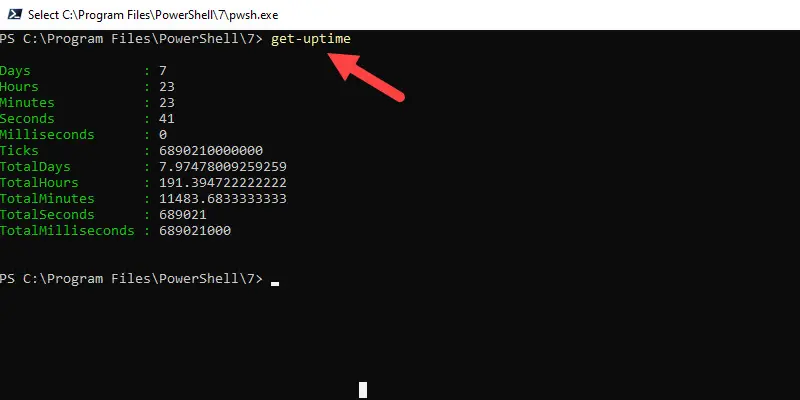
Unfortunately, the get-uptime cmdlet has no parameter for checking the uptime on remote computers, it only works locally. See method 2 for a quick and easy way to get the uptime on remote and multiple computers.
Check Windows Uptime using Task Manager
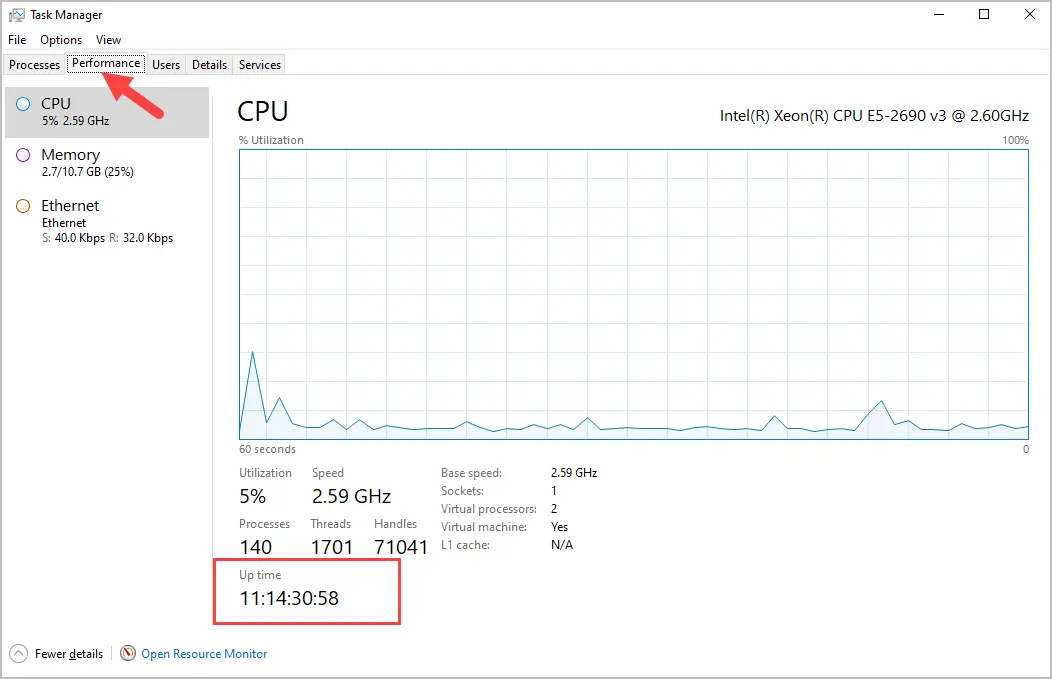
You can easily check the uptime on a Windows system by using the task manager.
- Right click the taskbar and select task manaager
- Click on the Performance tab
- The up time will be displayed under the CPU graph.
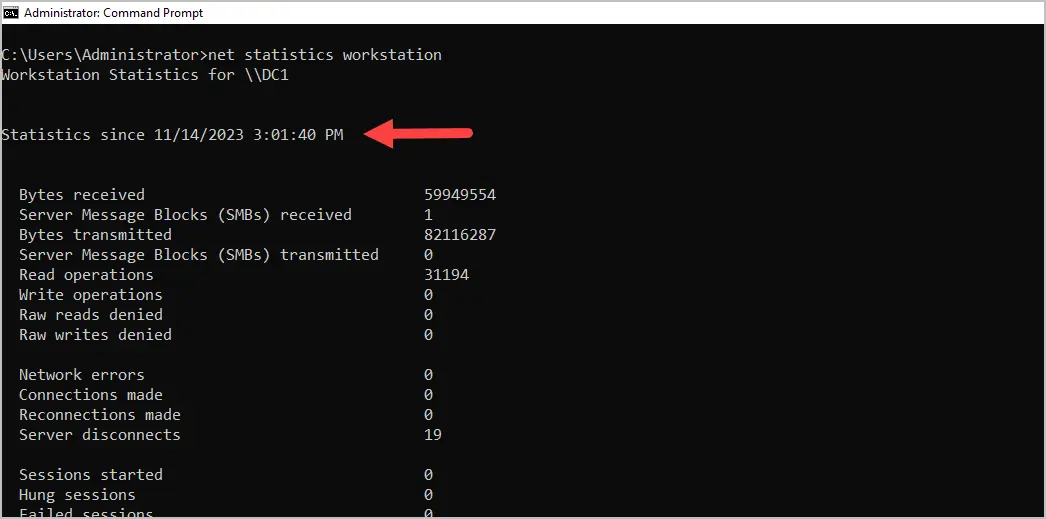
Check Windows Uptime with Net Statistics
In this last example, I’ll use the net statistics command. This command will show various network statistics but also keeps track of the uptime.
- Open the command prompt
- Enter the command -> net statistics workstation
- The uptime will be at the top
Summary
As an administrator of Windows systems, you will often need to check the uptime on servers and client computers. If you need to manually a single computer there a several command line options to easily see the uptime. If you need to generate a report on multiple or all systems then I would recommend using the uptime utility from the AD Pro Toolkit.
I hope this article helped you find the uptime on your Windows server or workstations. If you liked this article, then please subscribe to our YouTube Channel for more Active Directory tutorials.


you can also use > net statistics workstation to show Windows boot time. Work in server and pro versions.
🙂
I’ve used this command to view the network errors but didn’t realize it showed last boot time. Thanks for the tip!
Thank you!
Great article
Thanks Sandeep